【Kotlin/Android Studio】How to implement rewarded ads with AdMob! Get rewards for watching videos
What you will learn from this article
- How to implement ads in an app developed using Android Studio/Kotlin
- How to set up and use AdMob
- The process of placing ads with AdMob
- How to create the logic for rewarded ads
- Implementing test ads in a developing app
index
[open]
\ アプリをリリースしました /


Environment
- Android Studio:Flamingo
- Kotlin:1.8.20
What is Google AdMob?
AdMob is a service provided by Google that allows you to place advertisements on mobile apps such as iOS and Android.
By providing AdMob with a space on the app screen to place ads, they will automatically deliver ads based on the user's information.
The basic service content and usage are the same as Google AdSense, which allows you to add advertisements to web pages.
Ad Units
AdMob allows you to choose from four types of ad units.
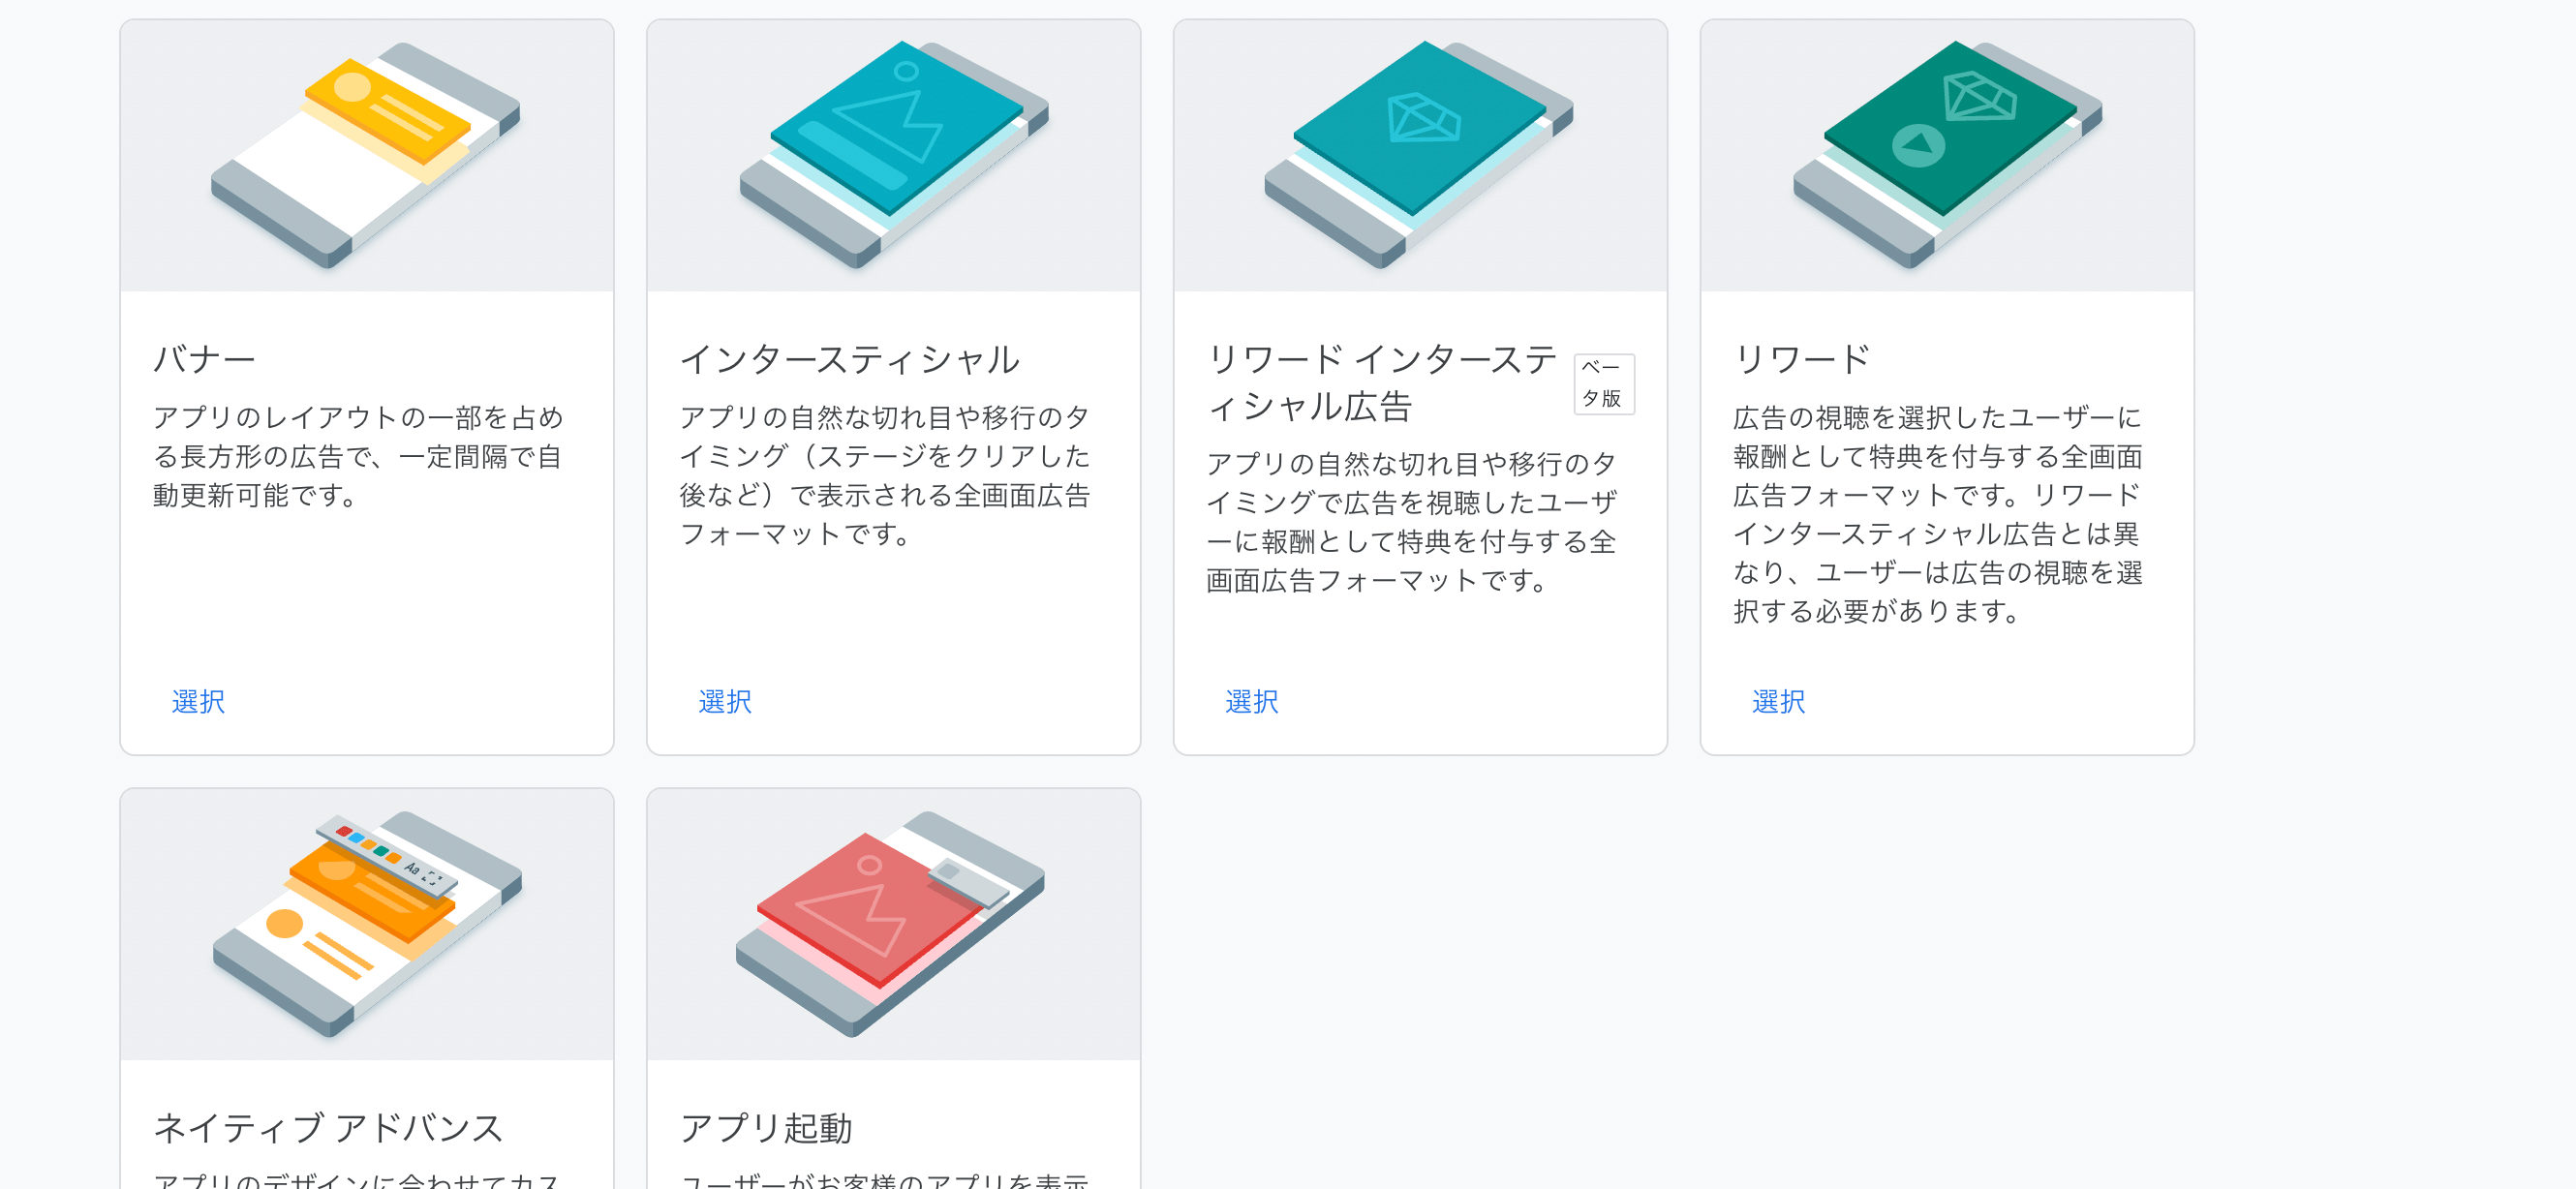
Banner
Banner-type advertisements placed at the top or bottom of the app screen. They are always displayed and the content is updated at regular intervals.
Recommended article: 【Kotlin/Android Studio】How to install AdMob! Implementing banner ads
Interstitial
Advertisements that are displayed full-screen during screen transitions and flows. They will not disappear unless you press the close button.
Recommended article: 【Swift UI】How to implement AdMob interstitial ads! Display when screen transition occurs
Native
Customizable ads that can be integrated into the app design.
Reward
Ads that ask users to watch videos for several tens of seconds. You can implement a process to have users watch ads in exchange for rewards such as points or stamina.
Recommended article: 【Swift UI】How to implement AdMob reward ads! GADFullScreenContentDelegate
How to implement Reward ads in Android apps
How to add ads to Android apps using Google AdMob will be summarized below.
Flow
- Register an AdMob account
- Register your app on AdMob
- Add the Mobile Ads SDK from build.gradle (Module)
- Add an ID to the manifest file
- Implement rewarded ads
- Implement callbacks
- Display rewarded ads
Register an AdMob account
First, you need an AdMob account to get started, so register one.
You can easily register from the link above. The registration procedure will differ depending on whether you have a Google AdSense account or not, so proceed according to your situation.
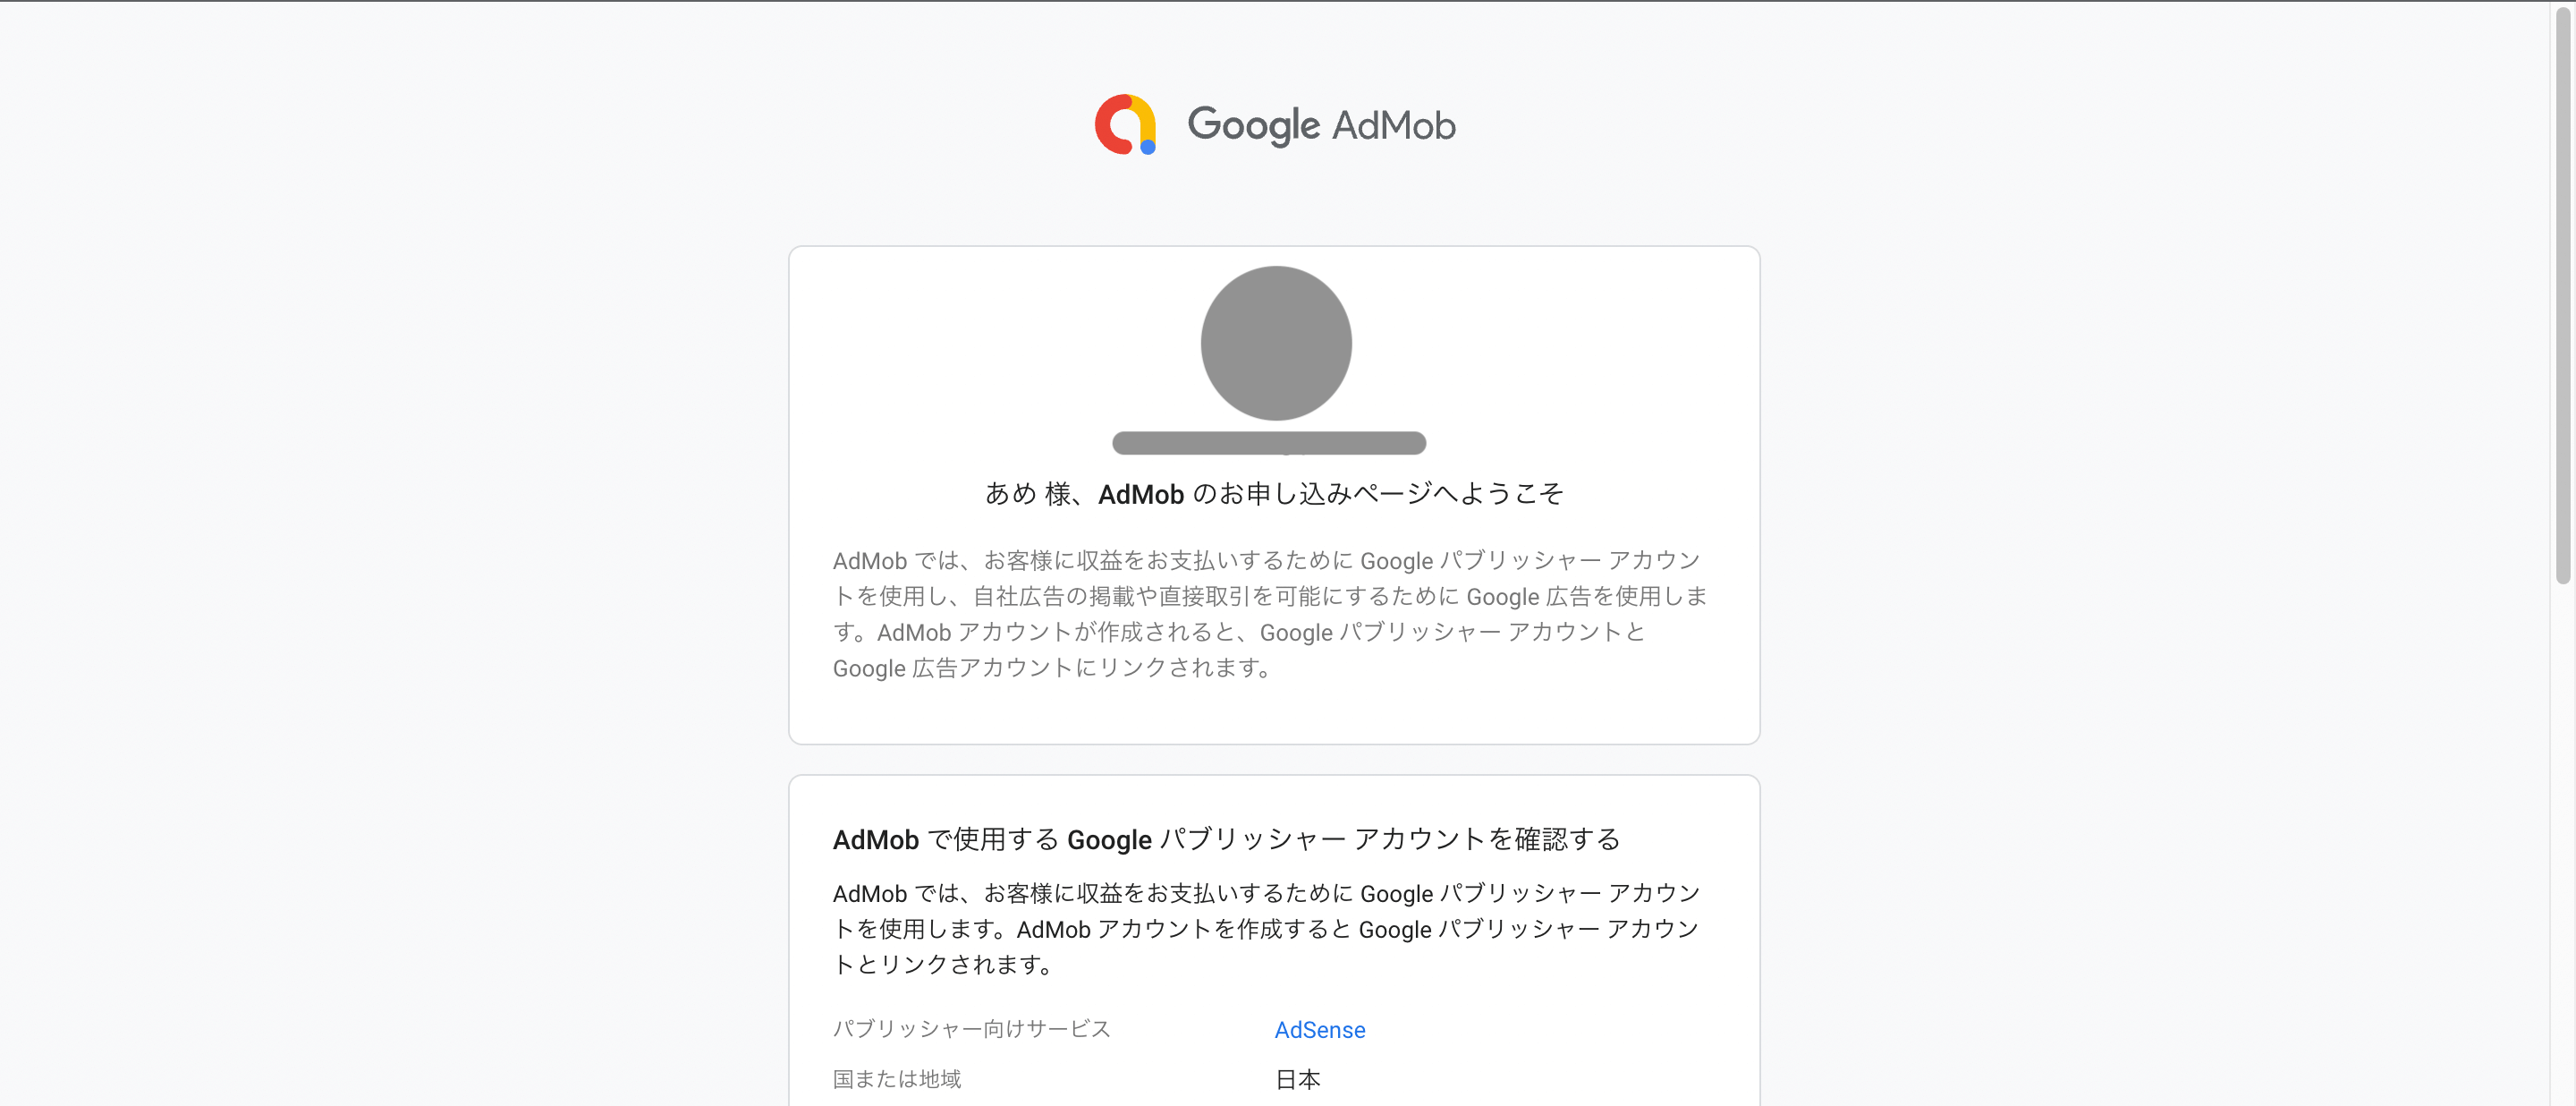
If you already have a Google AdSense account, check your registration information and if there are no problems, click "Create an AdMob account".
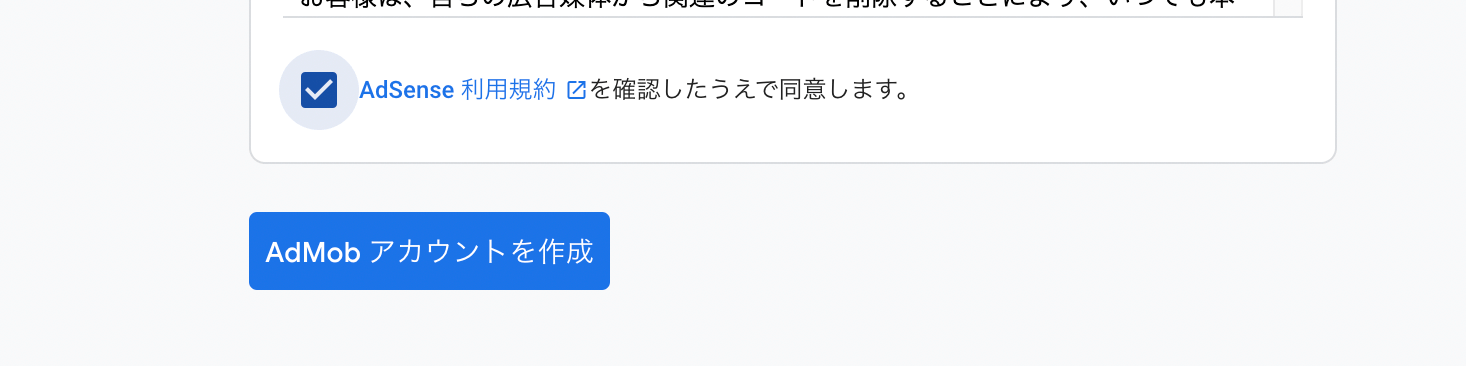
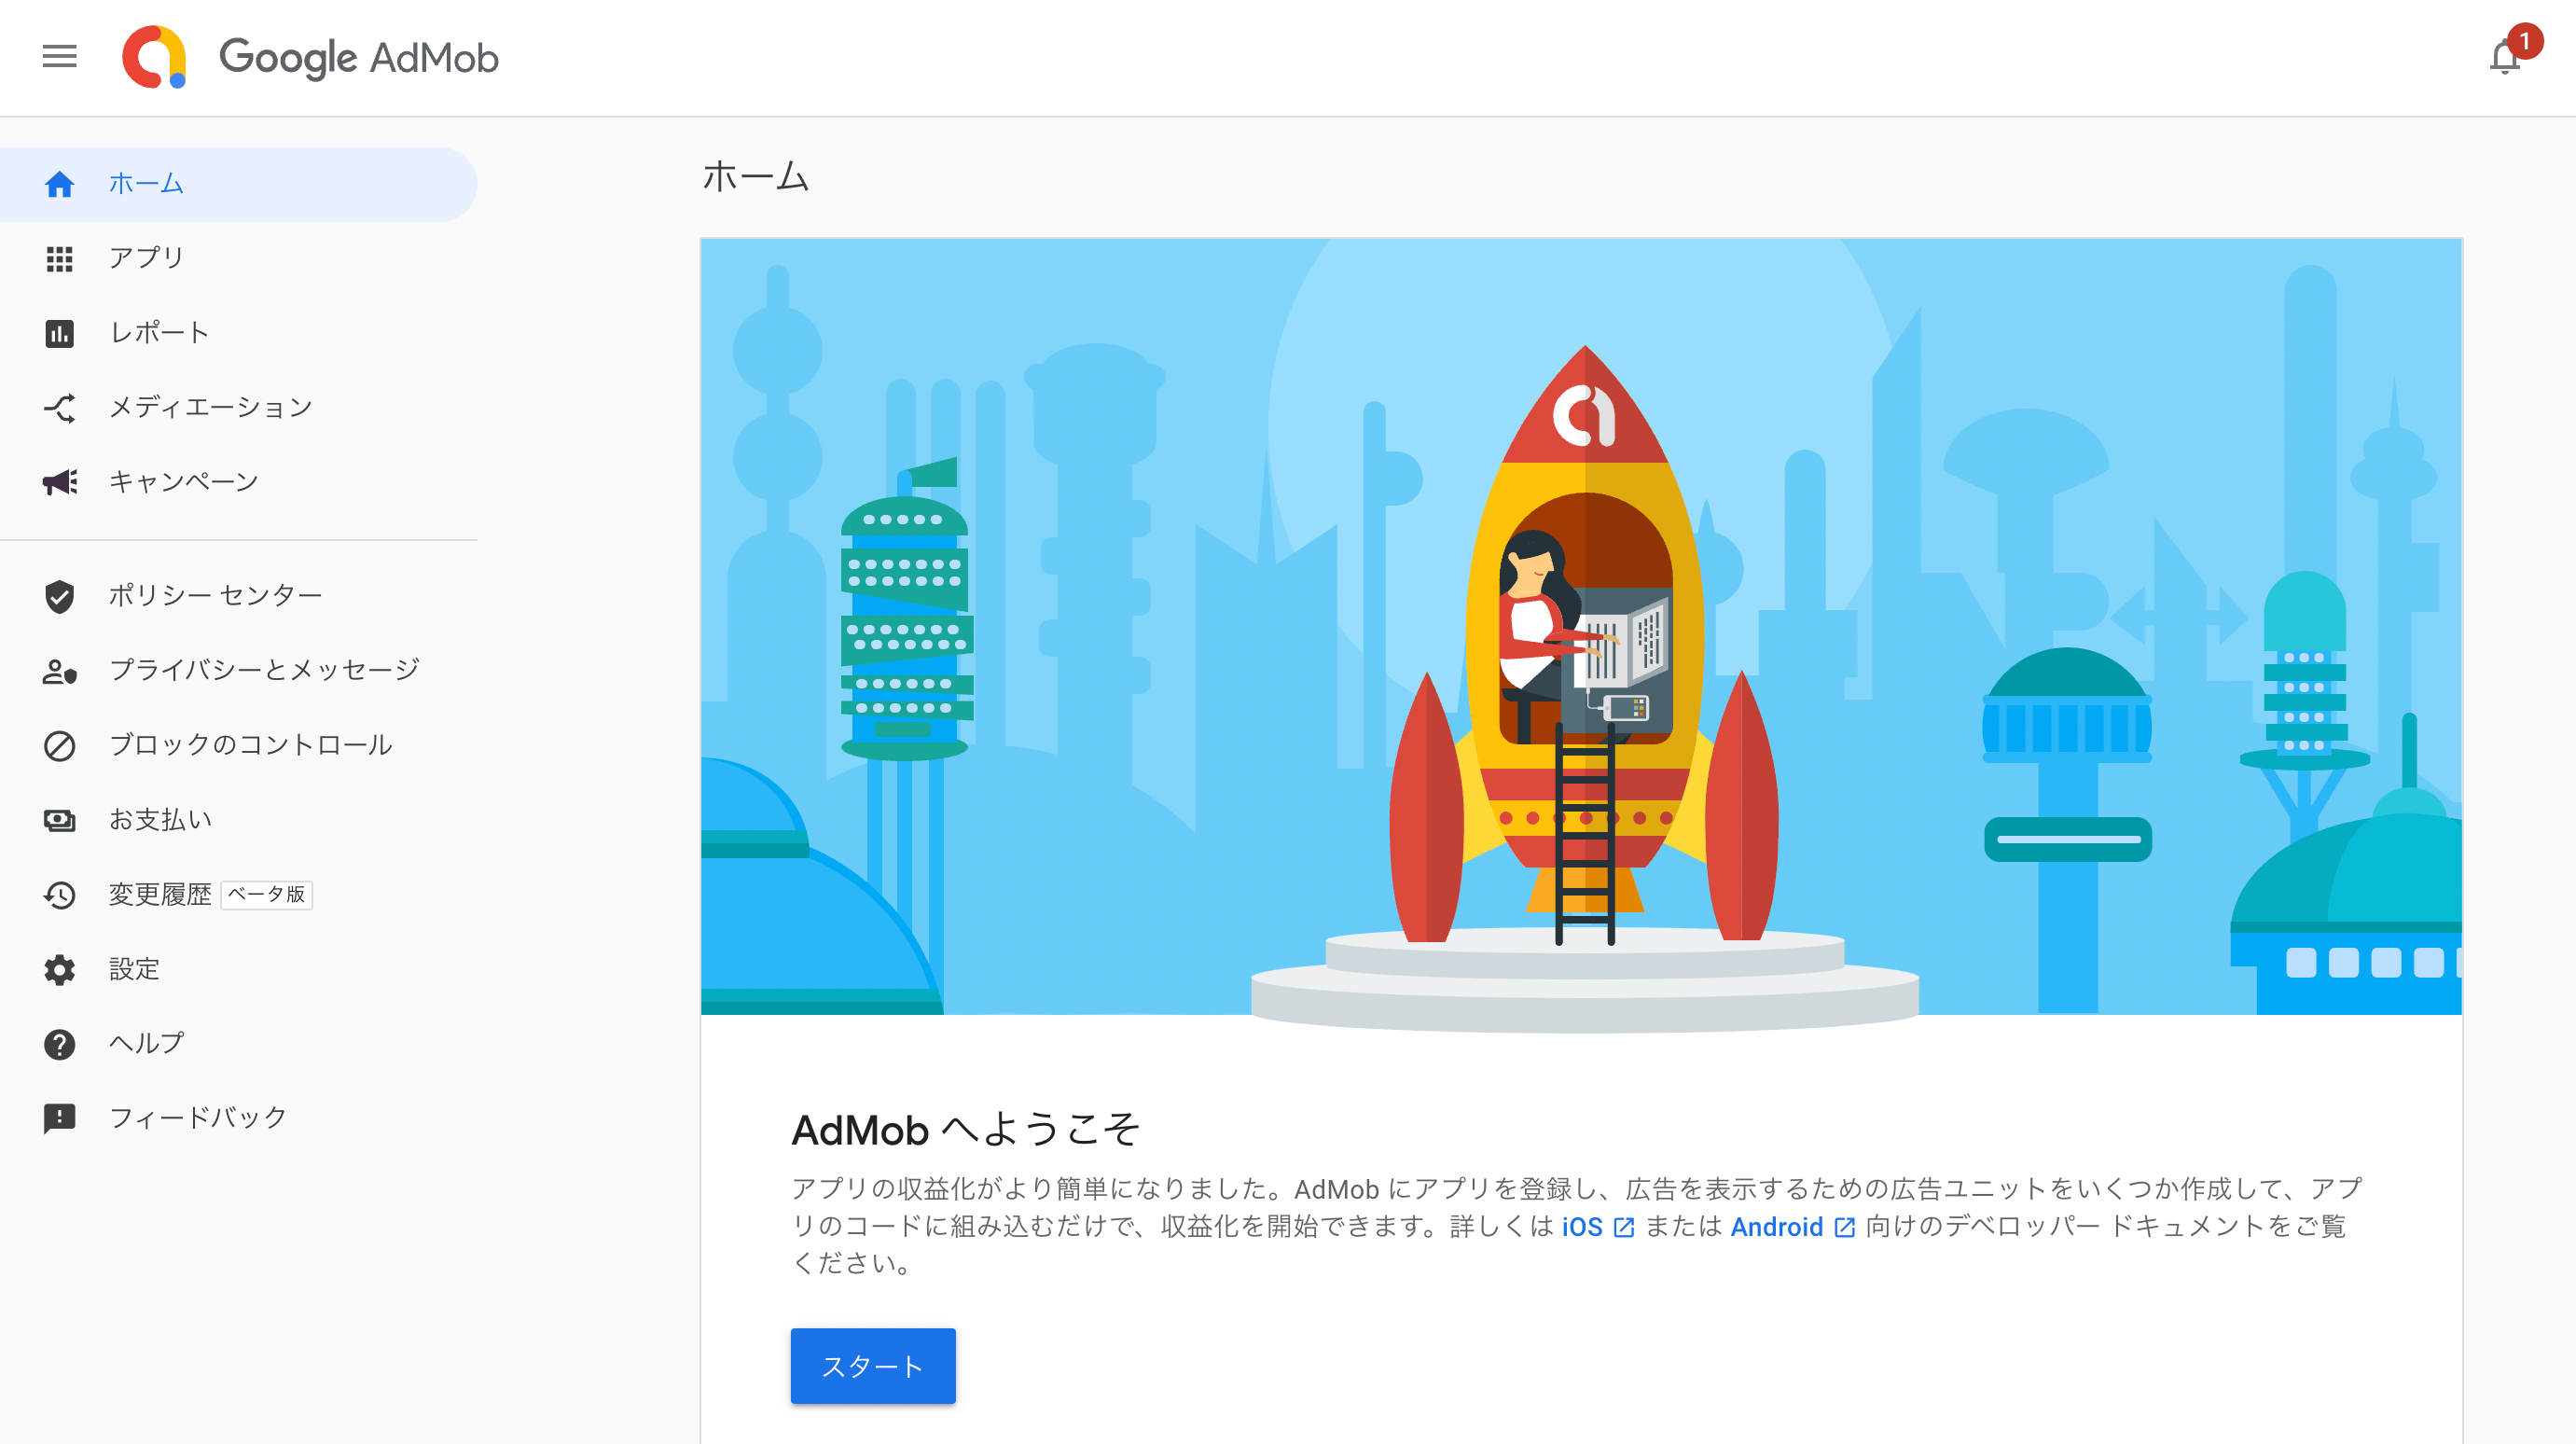
Once you've created your account following the steps, go to the home screen.
If you don't have a Google AdSense account, register your payment information from the side menu on the home screen > "Payment."
Register your app on AdMob
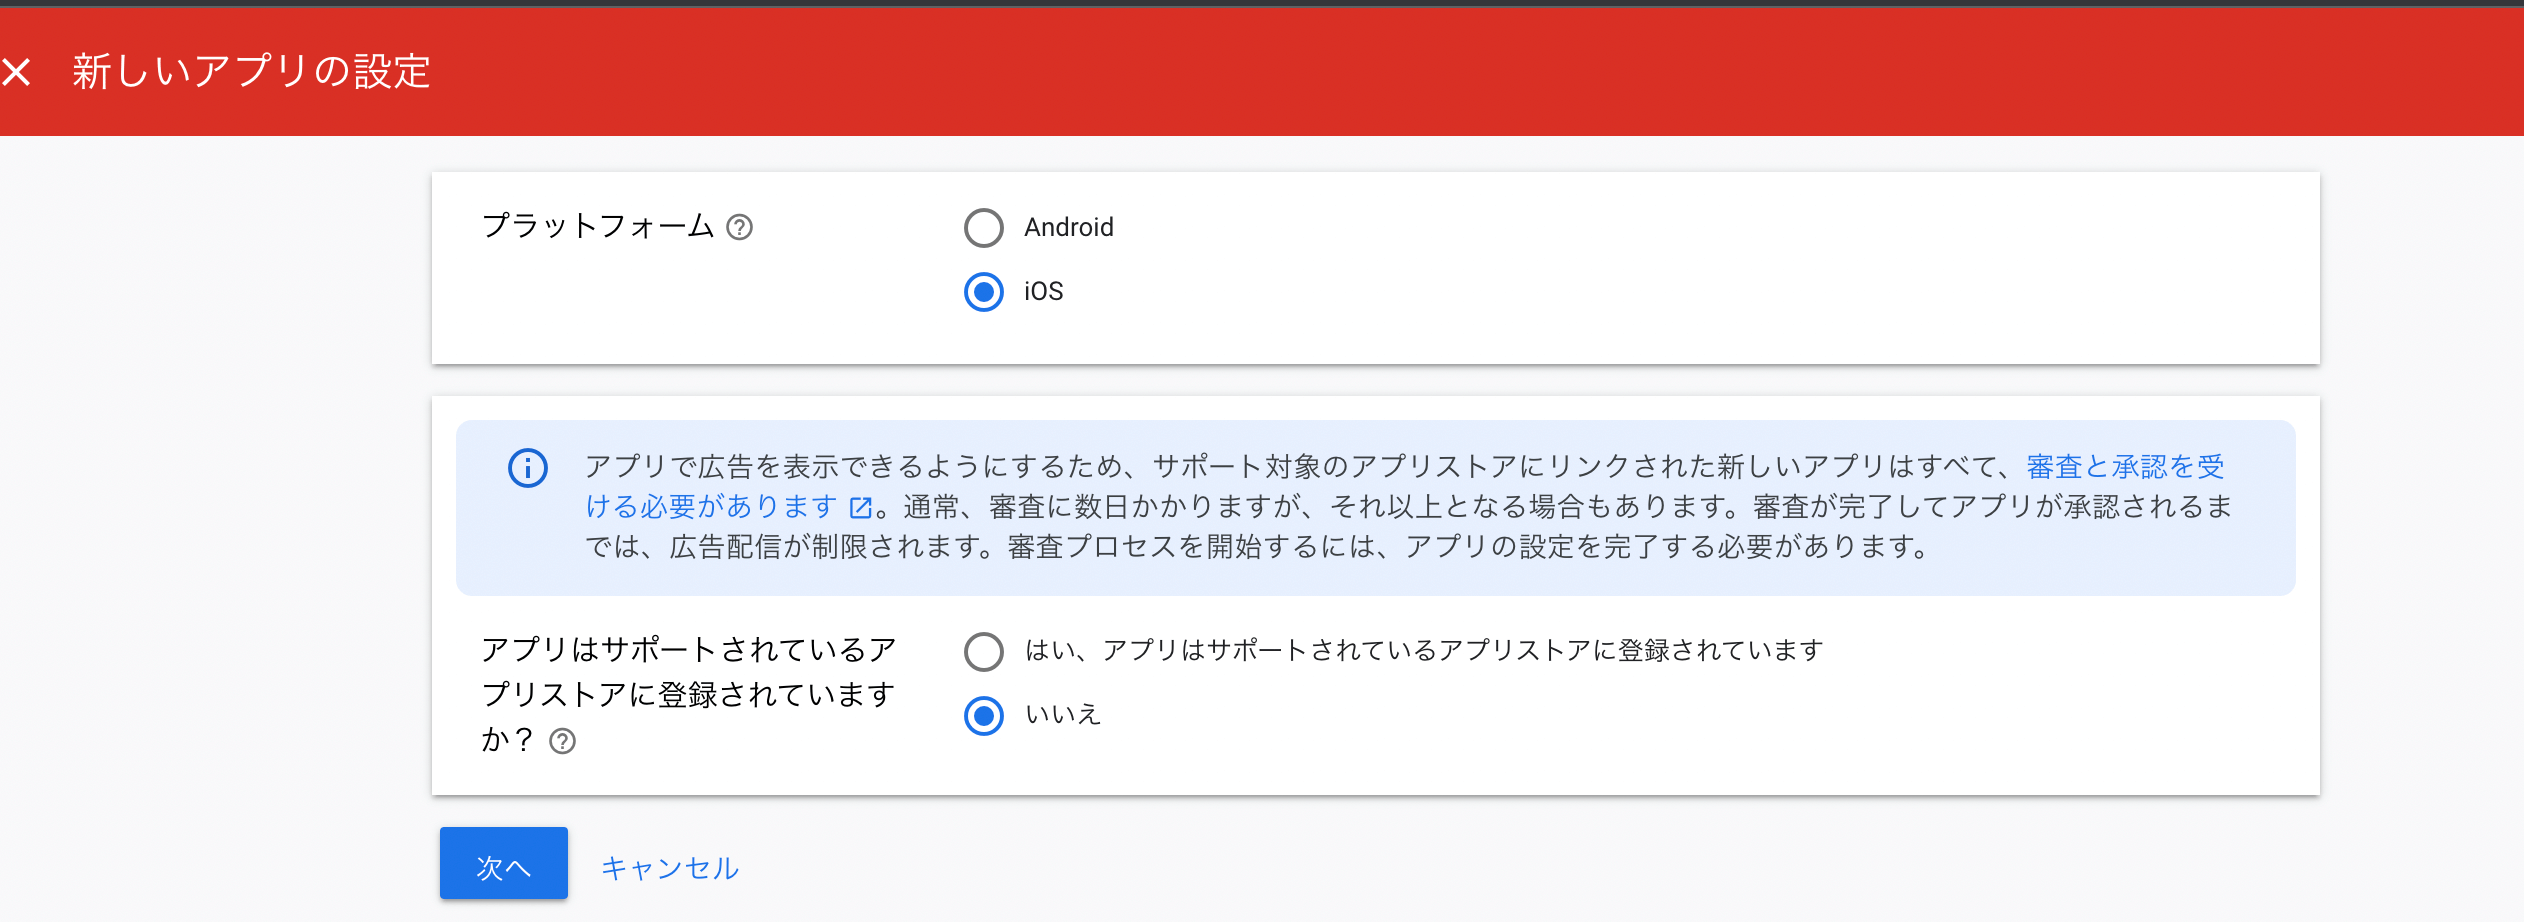
From the sidebar on the home screen, select the compatible OS from "Apps" > "Add App" and check the box. The app itself can be registered even if it is not published on the App Store, so select "No" for "Is your app registered in a supported app store?" and click "Next" to proceed.
On the next screen, register the app name and click "Add app" to register it.
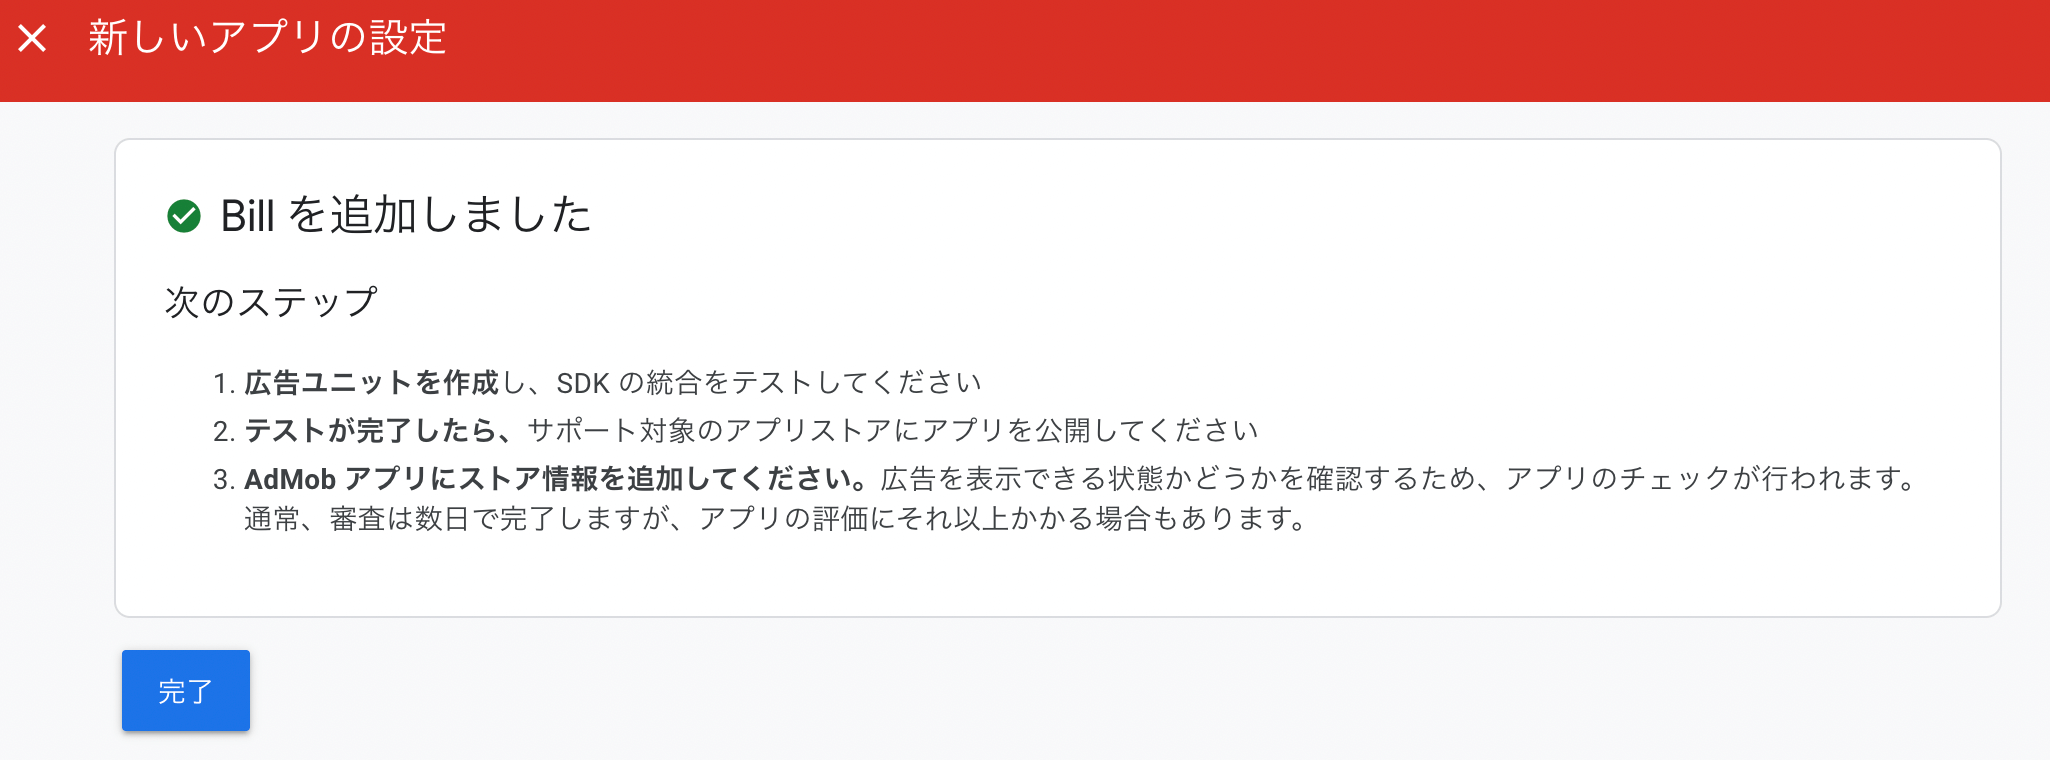
This completes the registration of your app. All you have to do is add the code to implement ads in the project described below, and after publishing it on the App Store, enter the store information and the review will begin. (The image is for iOS, but it's the same for Android.)
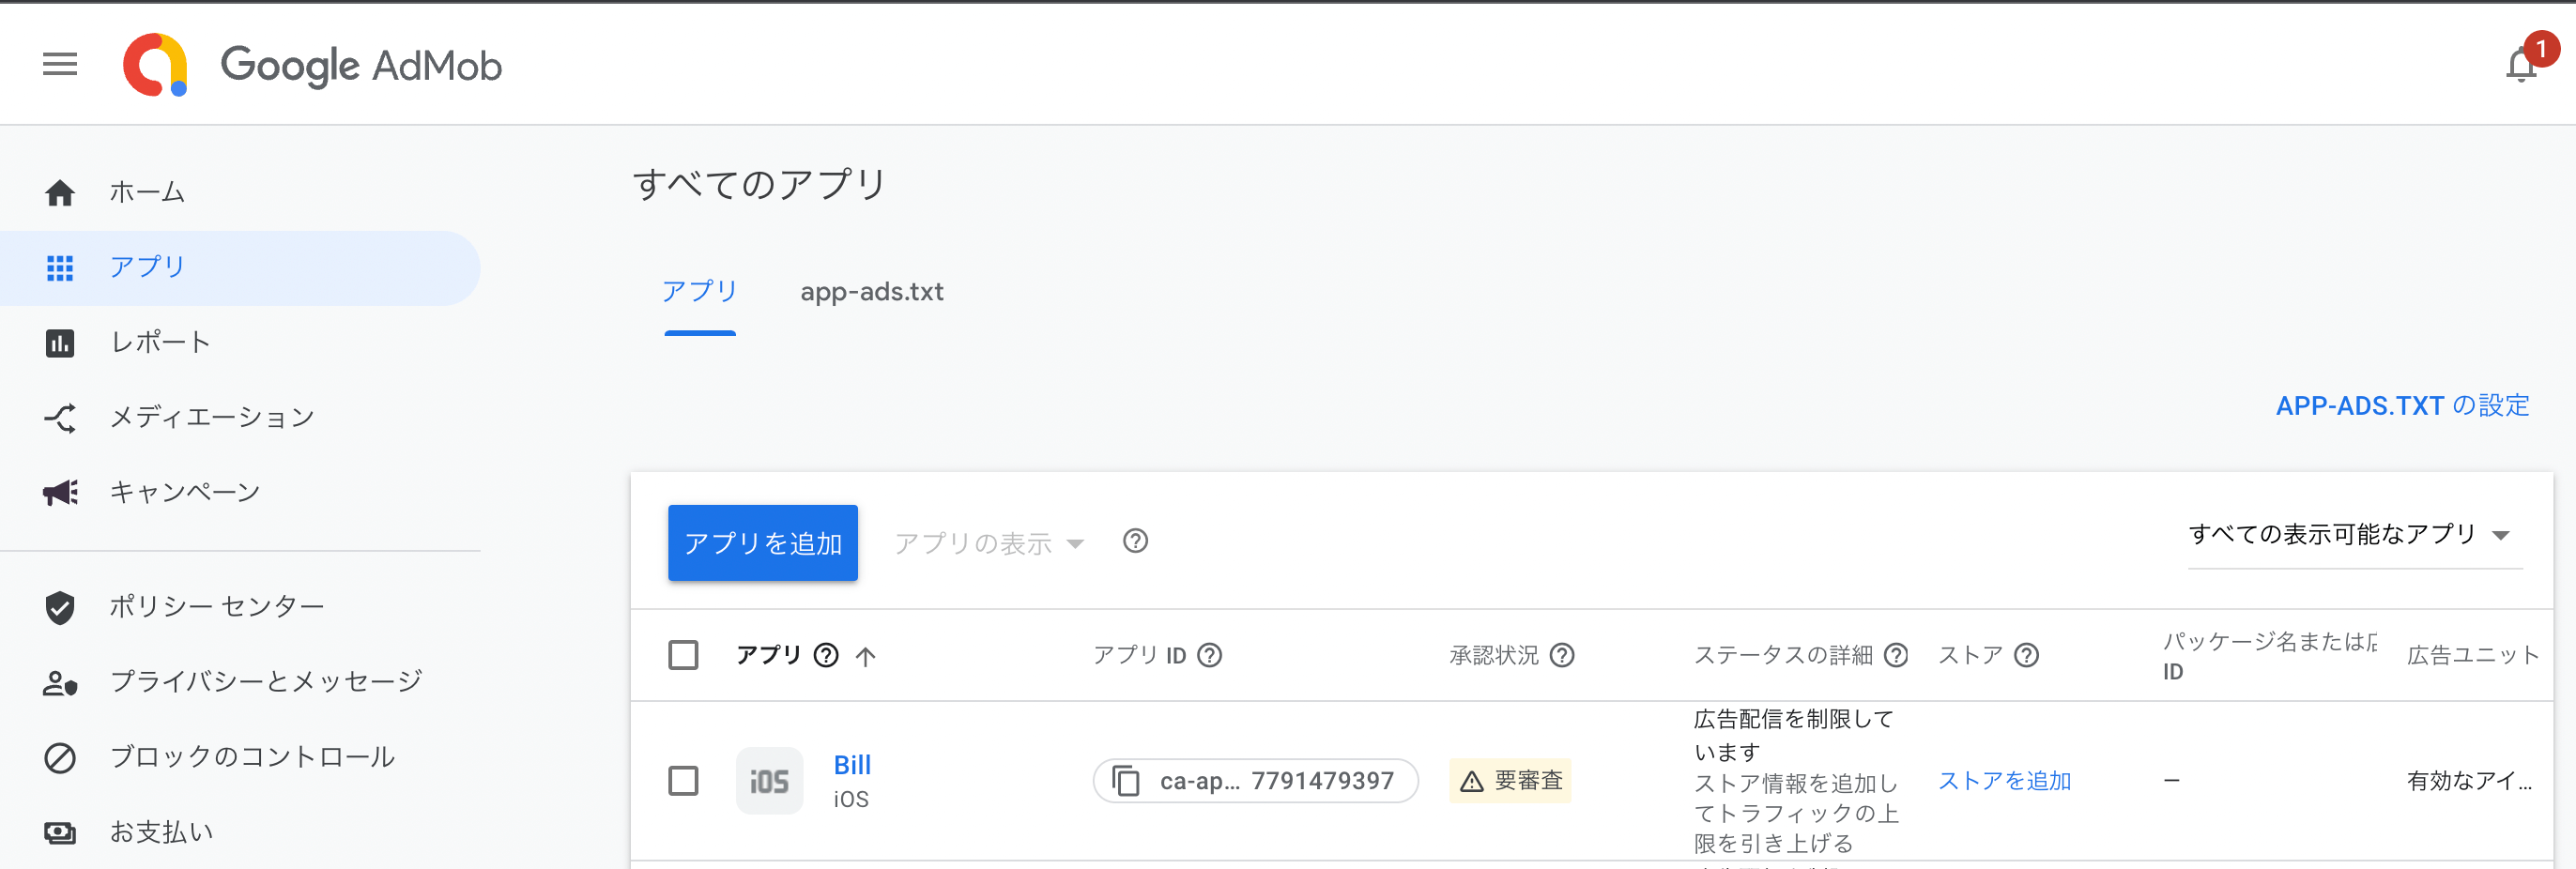
Next, select the ad unit you want to create and create it.
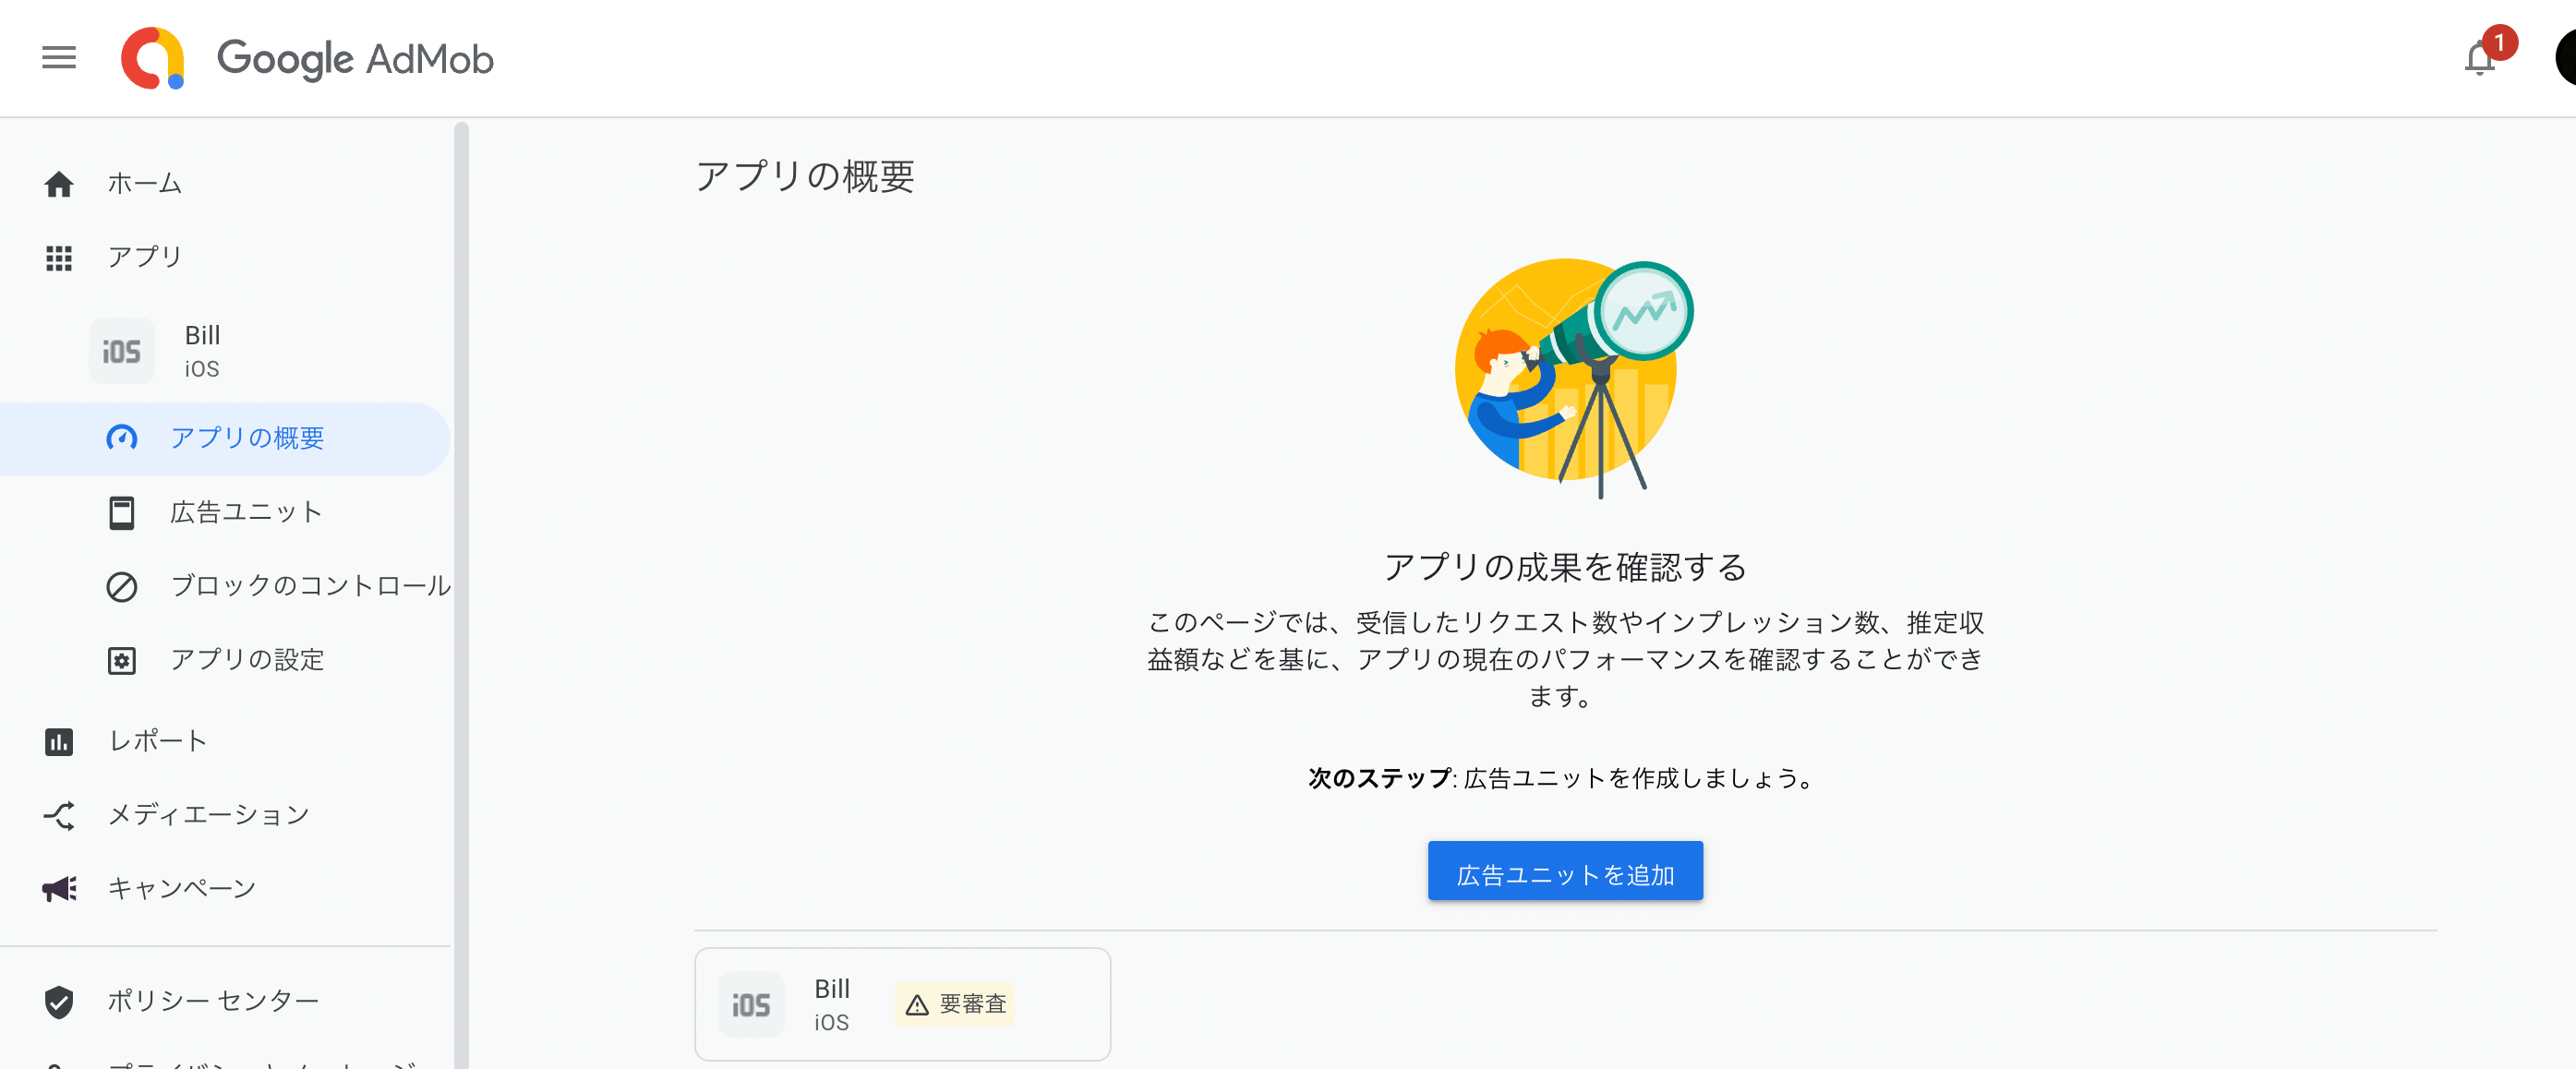
Choose your favorite ad unit and enter the ad name to create it.
Then, the "App ID" and "Advertising ID" will be displayed as shown below. You will need these two IDs later, but you can check them again at any time, so it's okay to close the window.
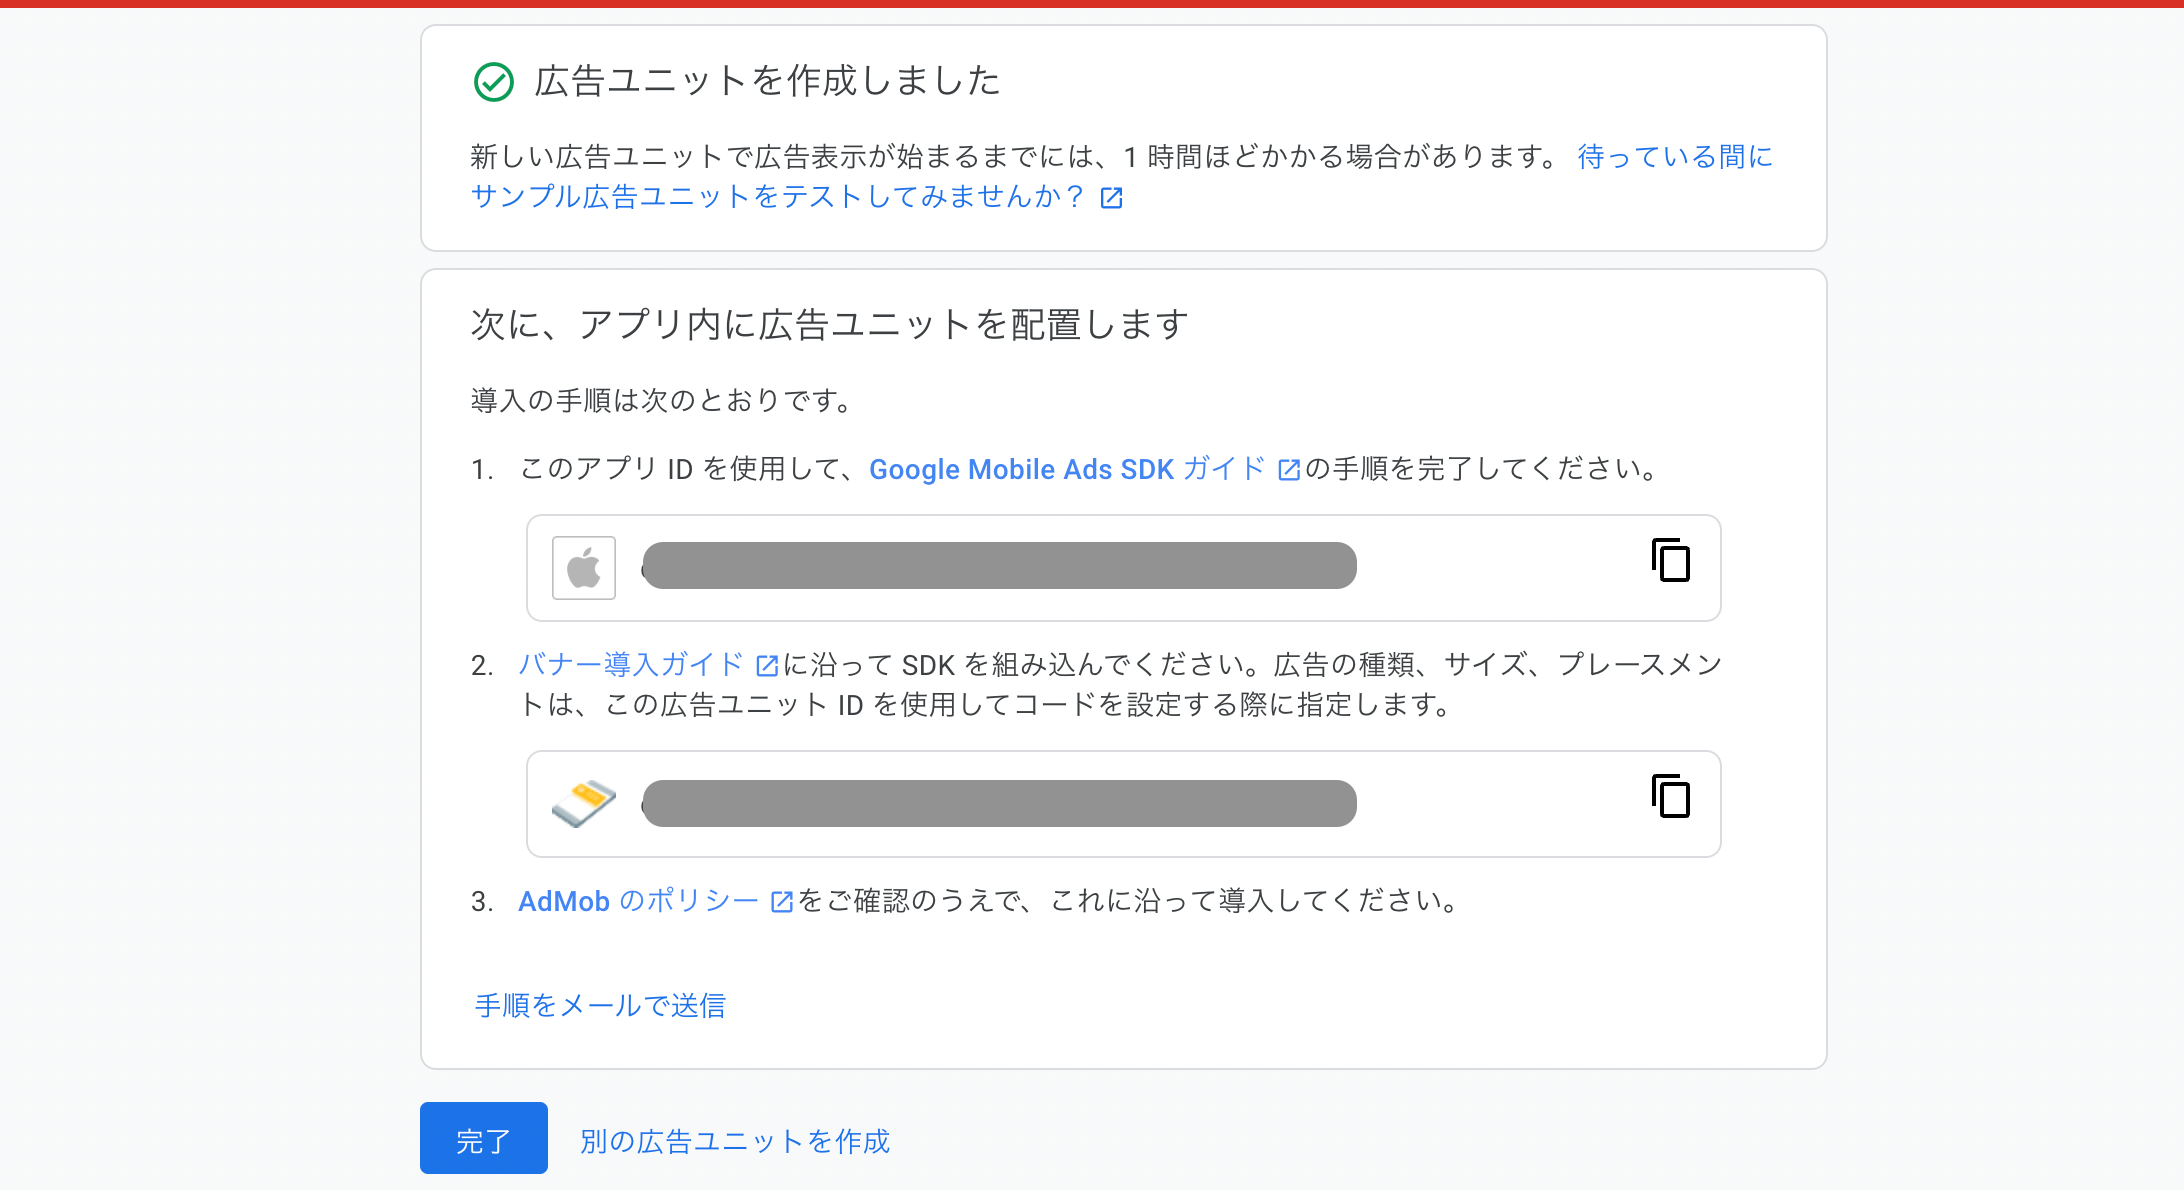
Add Mobile Ads SDK from build.gradle(Module)
Add the Mobile Ads SDK to your project. Open build.gradle (Module) and add the following line under dependencies, then click Sync Now.
dependencies {
// ~~~~~~~~~~~~~~~~~~~~~~~
implementation("com.google.android.gms:play-services-ads:22.4.0")
}
Add App ID to the Manifest File
Add your AdMob App ID to the manifest file. Open AndroidManifest.kt and add the following meta-data tag inside the application tag. Without this, ads may not display correctly.
<?xml version="1.0" encoding="utf-8"?>
<manifest>
// ~~~~~~~~~~~~~~~~~~~~~~~
<application>
// ~~~~~~~~~~~~~~~~~~~~~~~
// Add the following
<meta-data android:name="com.google.android.gms.ads.APPLICATION_ID"
android:value="ca-app-pub-3940256099942544~3347511713"/>
<activity>
// ~~~~~~~~~~~~~~~~~~~~~~~
</activity>
</application>
</manifest>
The value for android:value is your App ID. For release builds, copy your App ID from AdMob. During testing, you can use ca-app-pub-3940256099942544~3347511713.
Implement Rewarded Ads
You do not need to create any layout for rewarded ads. Just write the code in your Activity or Fragment. First, define a RewardedAd property and load the ad in the onCreate method.
class MainActivity : AppCompatActivity() {
private var rewardedAd: RewardedAd? = null
override fun onCreate(savedInstanceState: Bundle?) {
super.onCreate(savedInstanceState)
setContentView(R.layout.activity_main)
// Initialize
MobileAds.initialize(this)
var adRequest = AdRequest.Builder().build()
RewardedAd.load(this, "ca-app-pub-3940256099942544/5224354917", adRequest, object : RewardedAdLoadCallback() {
override fun onAdFailedToLoad(adError: LoadAdError) {
Log.d("AdMob", "Failed to load")
rewardedAd = null
}
override fun onAdLoaded(ad: RewardedAd) {
Log.d("AdMob", "Load successful")
rewardedAd = ad
}
})
}
}
Implement Callbacks
Next, implement a FullScreenContentCallback object to handle ad-related events.
class MainActivity : AppCompatActivity() {
private var rewardedAd: RewardedAd? = null
override fun onCreate(savedInstanceState: Bundle?) {
super.onCreate(savedInstanceState)
setContentView(R.layout.activity_main)
// Load ad ~~~~~~~~~~~~~~~~~~~~~~~
rewardedAd?.fullScreenContentCallback = object: FullScreenContentCallback() {
override fun onAdClicked() {
Log.d("AdMob", "Ad clicked.")
}
override fun onAdDismissedFullScreenContent() {
Log.d("AdMob", "Ad dismissed full screen content.")
rewardedAd = null
}
override fun onAdFailedToShowFullScreenContent(adError: AdError?) {
Log.e("AdMob", "Ad failed to show full screen content.")
rewardedAd = null
}
override fun onAdImpression() {
Log.d("AdMob", "Ad impression recorded.")
}
override fun onAdShowedFullScreenContent() {
Log.d("AdMob", "Ad showed full screen content.")
}
}
}
}
Display Rewarded Ads
Finally, implement the code to show the ad at your desired timing.
// Load ad ~~~~~~~~~~~~~~~~~~~~~~~
// Callback handling ~~~~~~~~~~~~~~~~~~~~~~~
rewardedAd?.let { ad ->
ad.show(this.requireActivity(), OnUserEarnedRewardListener { rewardItem ->
val rewardAmount = rewardItem.amount
val rewardType = rewardItem.type
Log.e("AdMob",rewardAmount.toString()) // 10
Log.e("AdMob",rewardType.toString()) // coins
Log.d("AdMob", "User has earned the reward.")
})
} ?: run {
Log.d("TAG", "Rewarded ad is not ready yet.")
}
I am still learning, so if you find any mistakes or shortcomings, I would appreciate it if you could let me know.
Thank you for reading.