【Kotlin/Android】ZXingでQRコードを生成とリーダーを実装する方法!

【Kotlin/Android】ZXingでQRコードを生成とリーダーを実装する方法!

この記事からわかること

  • Kotlin/ AndroidQRコード生成読み取りする方法
  • ZXing(Zebra Crossing)の実装使い方

index

[open]

\ アプリをリリースしました /

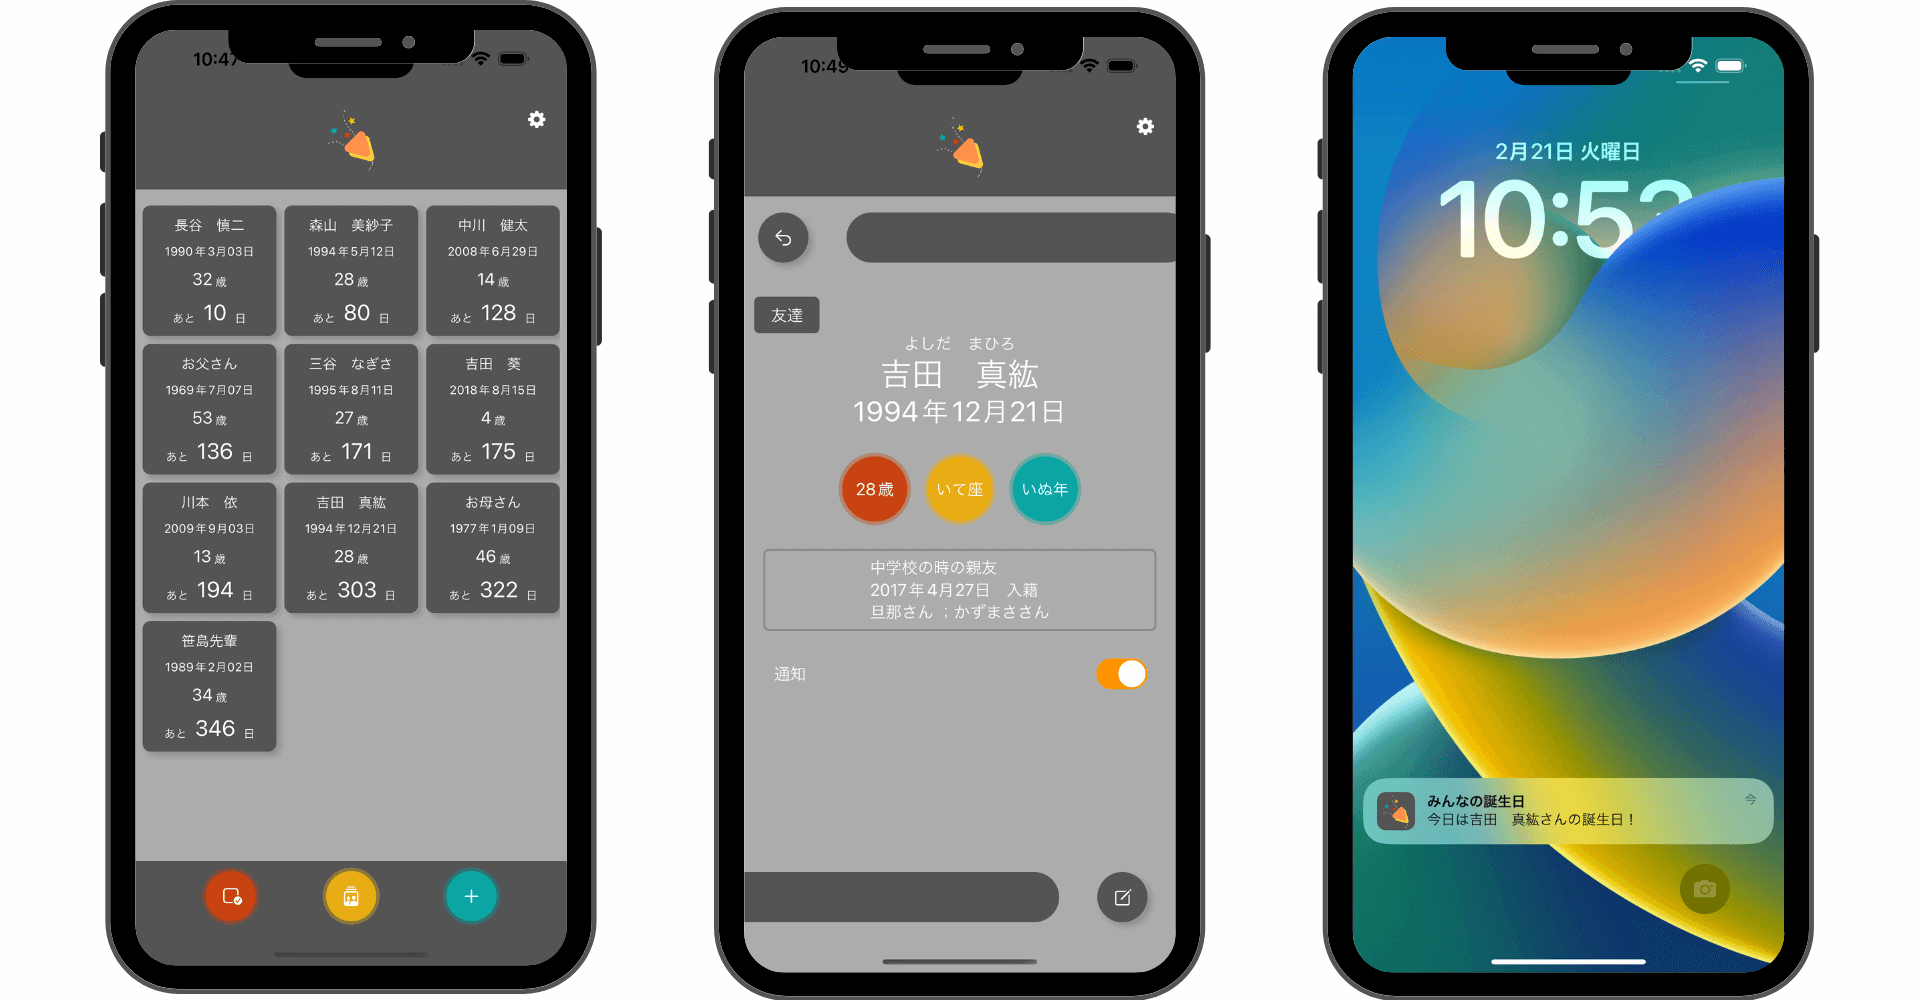
みんなの誕生日

友達や家族の誕生日をメモ!通知も届く-みんなの誕生日-

posted withアプリーチ

環境

ZXing(Zebra Crossing)ライブラリ

公式リファレンス:ZXing(Zebra Crossing)

ZXing(Zebra Crossing)はAndroidアプリでバーコードやQRコードQRコードの生成や読み取りを実装できるライブラリです。

サポートしているバーコードの種類

QRコードリーダーを実装する

ZXingを使用してQRコードを読み取るためのQRコードリーダーを実装してみます。

  1. ライブラリの導入
  2. カメラ利用のパーミッションの追加
  3. QRコードリーダー画面の実装
  4. QRコードリーダー画面の呼び出し

1.ライブラリの導入

ZXingをAndroid Studioで使用するために「bundle.gradle(Module)」に以下の文を追加して「Sync Now」をクリックします。

dependencies {
    // ZXing(QRコード生成&読み取り)
    implementation 'com.journeyapps:zxing-android-embedded:4.3.0'
}

2.カメラ利用のパーミッションの追加

AndroidアプリからQRコードを読み取れるようにするためにはマニフェストファイルでカメラのパーミッションを定義する必要があります。「AndroidManifest.xml」に<uses-permission android:name="android.permission.CAMERA" />を追加しておきます。


<manifest xmlns:android="http://schemas.android.com/apk/res/android"
    xmlns:tools="http://schemas.android.com/tools">
+   <uses-permission android:name="android.permission.CAMERA" />
    <application
        android:allowBackup="true"
        android:dataExtractionRules="@xml/data_extraction_rules"
        android:fullBackupContent="@xml/backup_rules"
        android:icon="@mipmap/ic_launcher"

3.QRコードリーダー画面の実装

続いてQRコードリーダーを表示するための画面を定義します。XMLファイルにはDecoratedBarcodeViewを設置しておきます。


<?xml version="1.0" encoding="utf-8"?>
<RelativeLayout xmlns:android="http://schemas.android.com/apk/res/android"
    android:layout_width="match_parent"
    android:layout_height="match_parent">

    <com.journeyapps.barcodescanner.DecoratedBarcodeView
        android:id="@+id/barcode_scanner"
        android:layout_width="match_parent"
        android:layout_height="match_parent" />

</RelativeLayout>

Kotlin側ではBarcodeCallbackを使用して読取結果後の処理を実装します。decodeContinuousメソッドでコールバックをセットします。またonResumeのタイミングでresumeを実行し、QRコードリーダーを利用できるようにします。


class QRReaderActivity : ComponentActivity() {
    
    private lateinit var barcodeView: DecoratedBarcodeView

    @SuppressLint("MissingInflatedId")
    override fun onCreate(savedInstanceState: Bundle?) {
        super.onCreate(savedInstanceState)
        setContentView(R.layout.activity_second)

        barcodeView = findViewById(R.id.barcode_scanner)
        barcodeView.decodeContinuous(callback)

        // カメラの権限リクエスト
        if (ContextCompat.checkSelfPermission(this, android.Manifest.permission.CAMERA)
            != PackageManager.PERMISSION_GRANTED) {
            ActivityCompat.requestPermissions(this, arrayOf(android.Manifest.permission.CAMERA), 1)
        }
    }

    private val callback = object : BarcodeCallback {
        // QRコードを読み取り完了した場合
        override fun barcodeResult(result: BarcodeResult?) {
            result?.let {
                barcodeView.pause()
                val qrCode = it.text
                Log.d("QR Code ", "${qrCode}")
            }
        }

        override fun possibleResultPoints(resultPoints: List<com.google.zxing.ResultPoint>) {
        }
    }

    override fun onResume() {
        super.onResume()
        barcodeView.resume()
    }

    override fun onPause() {
        super.onPause()
        barcodeView.pause()
    }

    // 権限リクエストの結果を処理するメソッド
    override fun onRequestPermissionsResult(
        requestCode: Int,
        permissions: Array<out String>,
        grantResults: IntArray
    ) {
        if (requestCode == 1) {
            if (grantResults.isNotEmpty() && grantResults[0] == PackageManager.PERMISSION_GRANTED) {
                barcodeView.resume()
            } else {
                Log.d("Permission", "カメラの権限が拒否されました。")
            }
        }
        super.onRequestPermissionsResult(requestCode, permissions, grantResults)
    }
}

4.QRコードリーダー画面の呼び出し

後はQRコードリーダー画面を呼び出すだけです。シミュレーターでは実際の動作確認はできないので実機などを使用して確認してみてください。

readButton.setOnClickListener{
    val intent = Intent(this, QRReaderActivity::class.java)
    startActivity(intent)
}
【Kotlin/Android】ZXingでQRコードを生成とリーダーを実装する方法!

QRコードを生成する

ZXingでは簡単にQRコードを生成することが可能です。実装は以下のようになります。

fun generateQRCode(text: String, width: Int, height: Int): Bitmap? {
    val qrCodeWriter = QRCodeWriter()
    return try {
        val bitMatrix: BitMatrix = qrCodeWriter.encode(text, BarcodeFormat.QR_CODE, width, height)
        val bitmap = Bitmap.createBitmap(width, height, Bitmap.Config.RGB_565)
        for (x in 0 until width) {
            for (y in 0 until height) {
                bitmap.setPixel(x, y, if (bitMatrix[x, y]) android.graphics.Color.BLACK else android.graphics.Color.WHITE)
            }
        }
        bitmap
    } catch (e: WriterException) {
        e.printStackTrace()
        null
    }
}

生成したBitmapImageViewにセットすれば表示させることができます。

qrCordViewButton.setOnClickListener{
    val qrCodeBitmap = generateQRCode("https://appdev-room.com/", 500, 500)
    findViewById <ImageView>(R.id.qr_code_view).setImageBitmap(qrCodeBitmap)
}
【Kotlin/Android】ZXingでQRコードを生成とリーダーを実装する方法!

まだまだ勉強中ですので間違っている点や至らぬ点がありましたら教えていただけると助かります。

ご覧いただきありがとうございました。

searchbox

スポンサー

ProFile

ame

趣味:読書,プログラミング学習,サイト制作,ブログ

IT嫌いを克服するためにITパスを取得しようと勉強してからサイト制作が趣味に変わりました笑
今はCMSを使わずこのサイトを完全自作でサイト運営中〜

New Article

index