【Kotlin/Android Studio】RecyclerViewの実装方法!Adapterの役割

この記事からわかること
- Android Studio/KotlinでRecyclerViewを実装する方法
- 必要になる4つのクラス
- AdapterやViewHolder、LayoutManagerの使い方
index
[open]
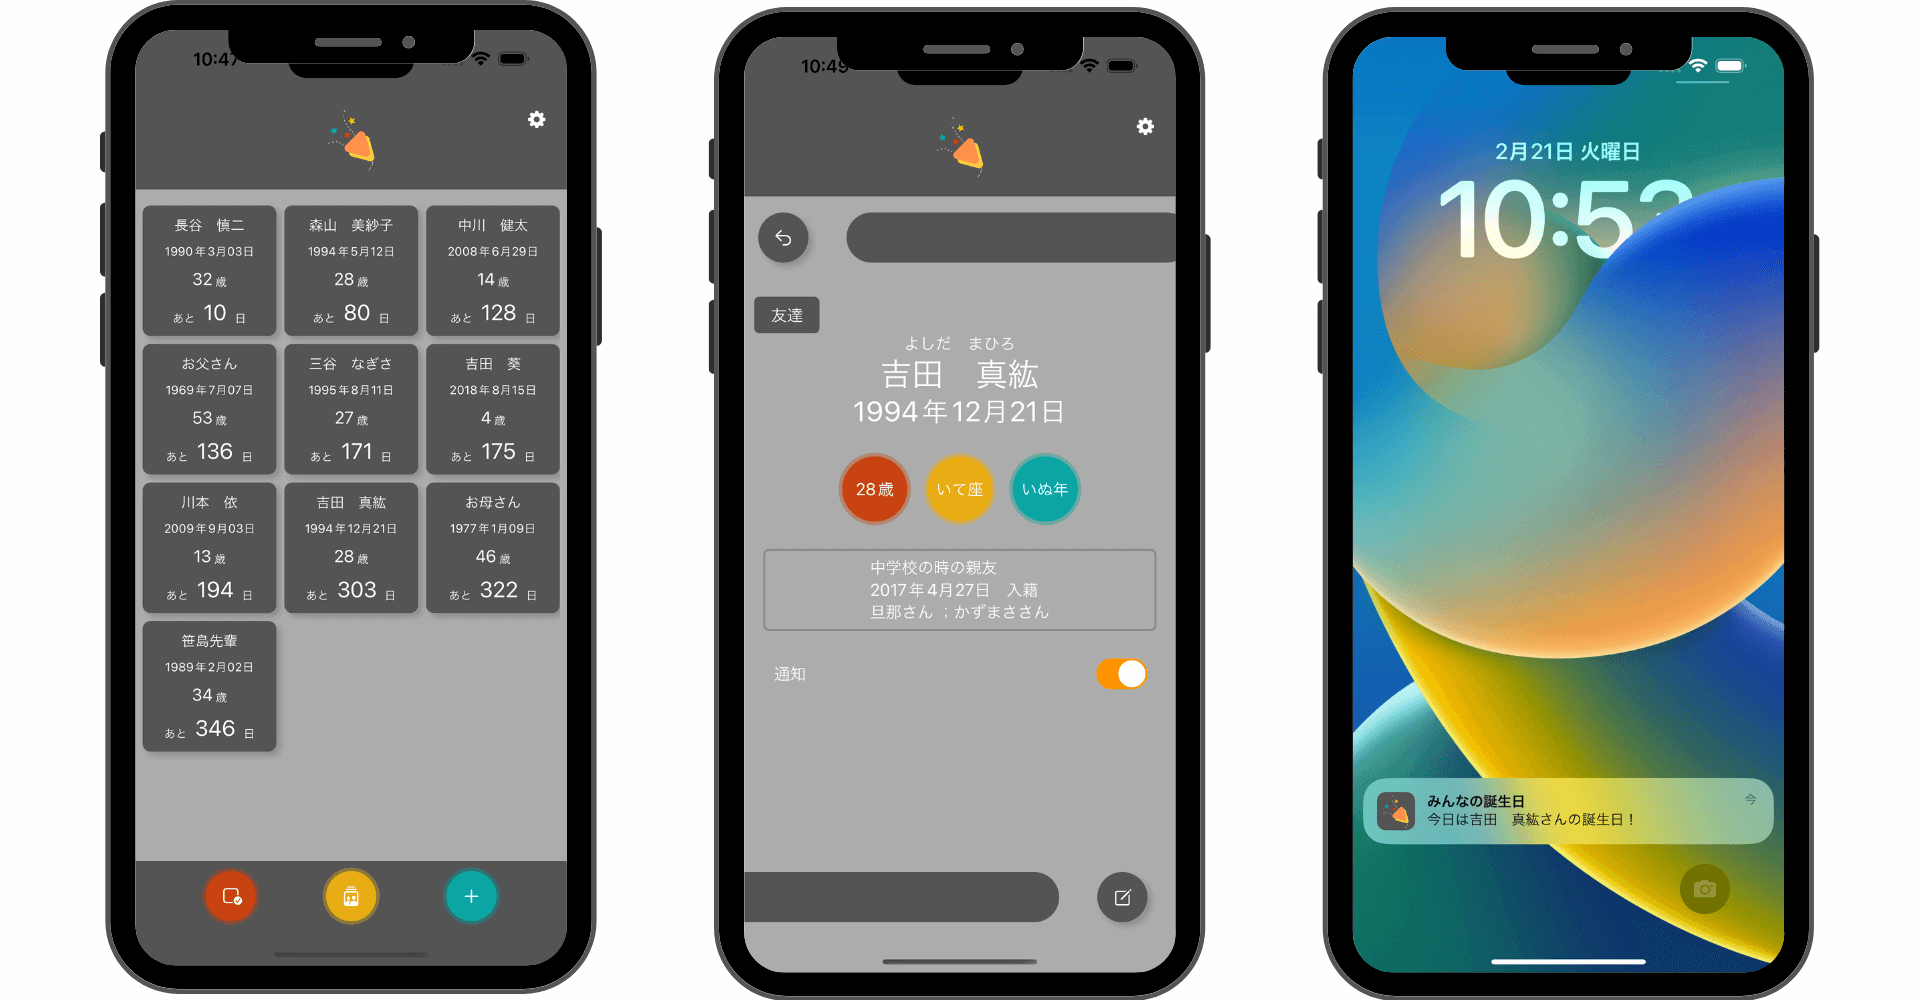
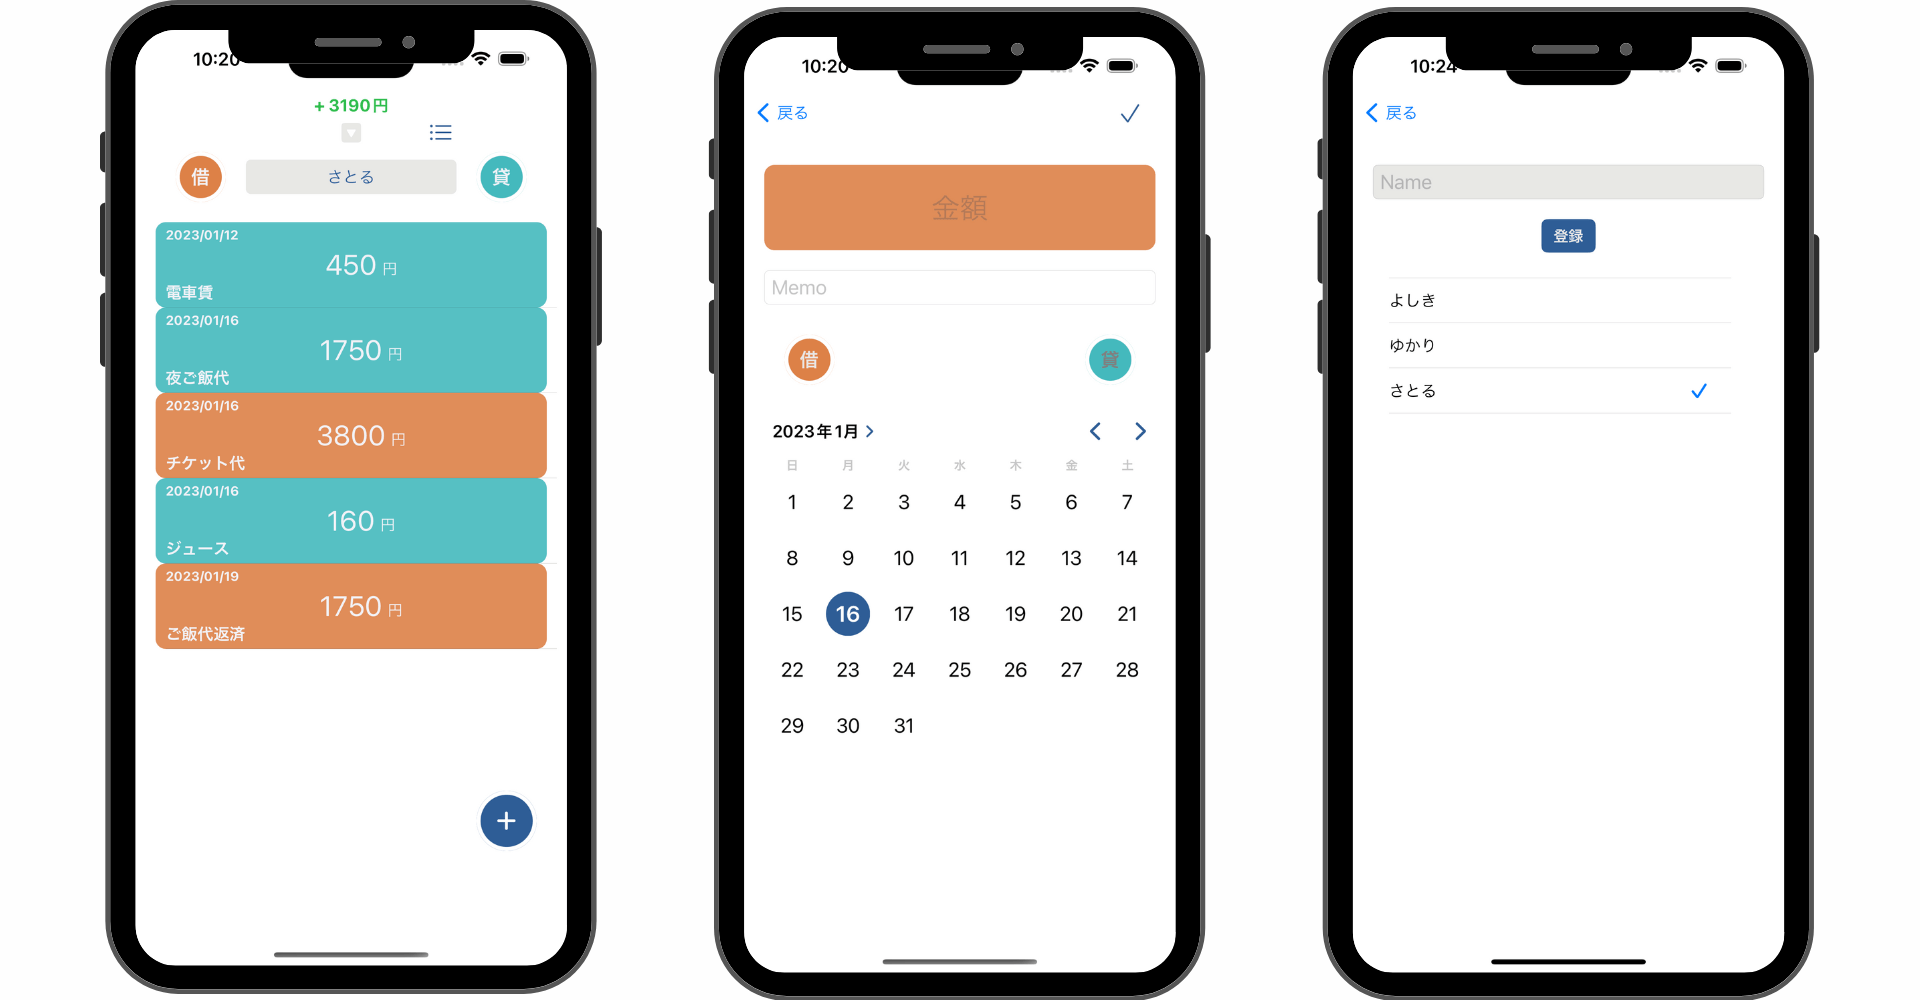
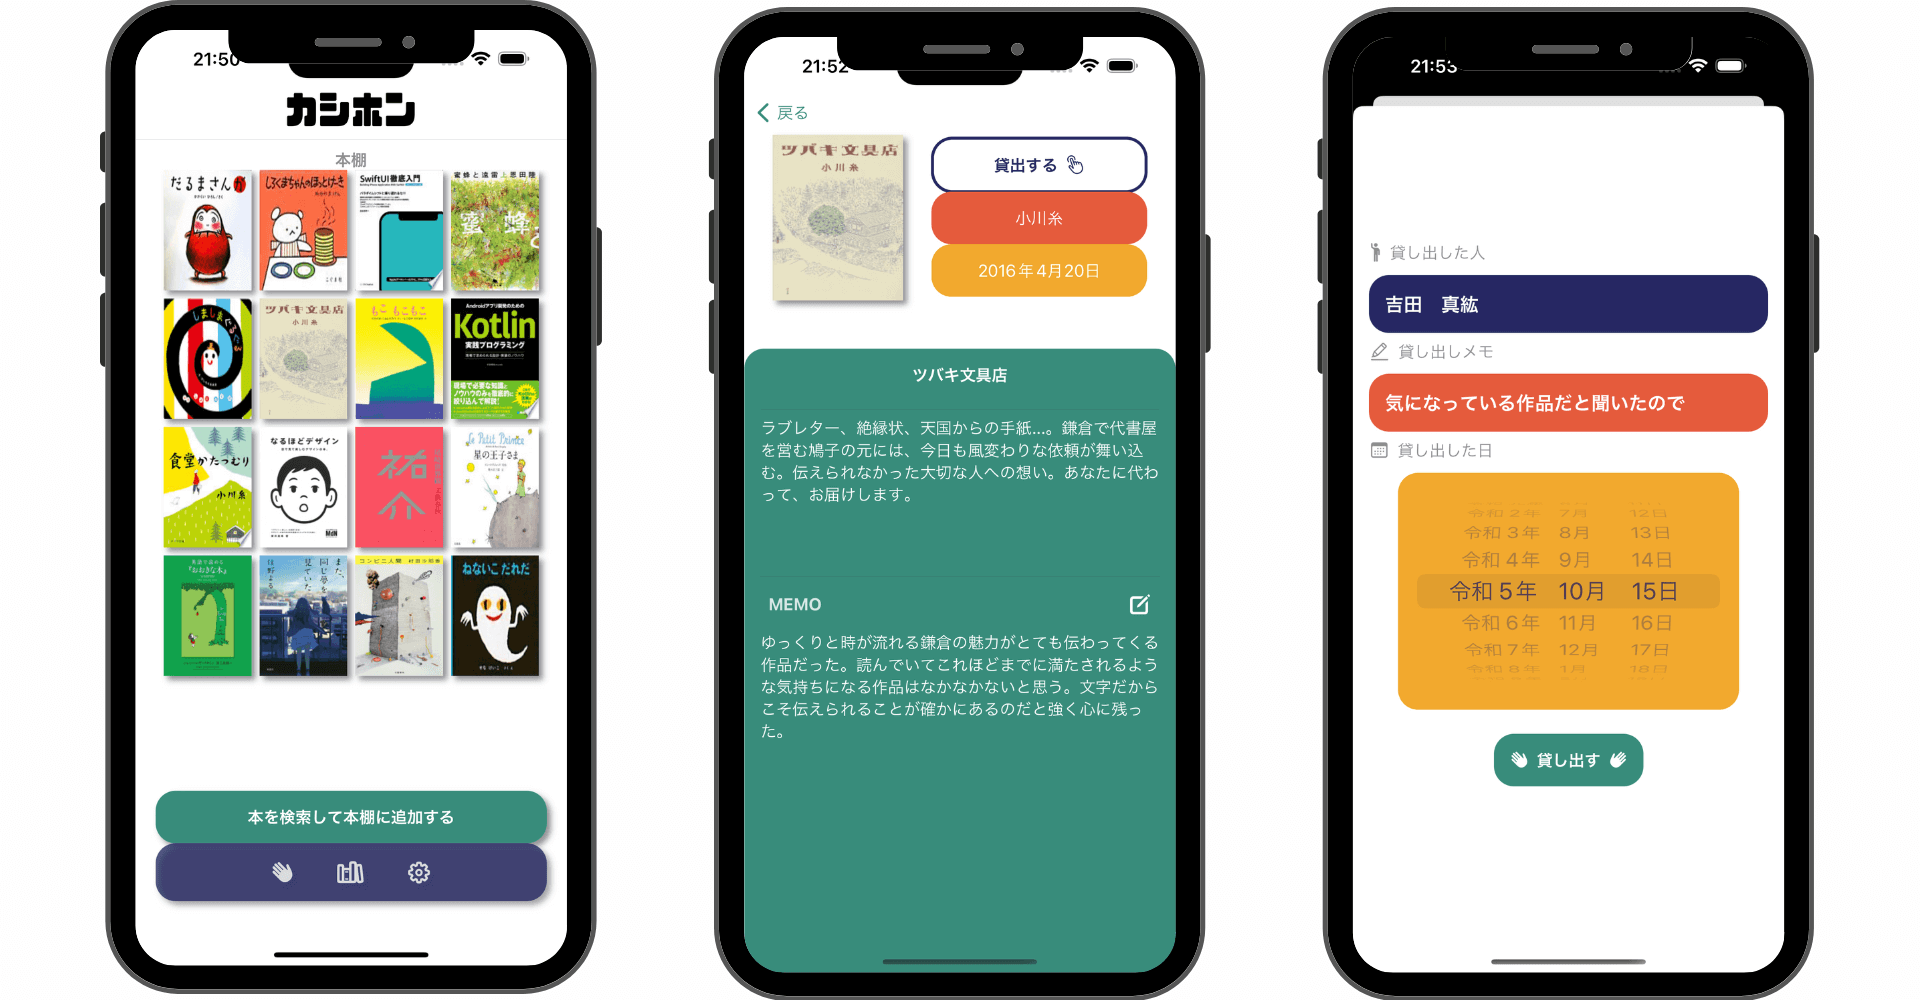
\ アプリをリリースしました /


参考文献:公式リファレンス:RecyclerView で動的リストを作成する
環境
- Android Studio:Flamingo
- Kotlin:1.8.20
RecyclerViewの使い方
AndroidのRecyclerViewとはアプリで大量のデータをリスト表示する際に使用できるViewGropeの1つです。RecyclerViewのメリットは個々に表示しているビューをリサイクルすることです。アイテムが画面外にスクロールされてもRecyclerViewはビューを破棄せず新しいアイテムに再利用してくれます。これによりパフォーマンスの大幅な改善とアプリの応答性の向上、消費電力の軽減が期待できます。
またRecyclerViewはJetPackに含まれるライブラリの1つであり、ライブラリ名、クラス名ともにRecyclerViewになっているようです。
RecyclerViewを使用するにあたって重要になるクラス
またRecyclerViewでリストビューを実装するためには以下のクラスが必要になってきます。少しややこしいですがそれぞれの役割をしっかり把握しながら実装していきたいと思います。
- RecyclerView.ViewHolder・・・リスト1行1行のViewを保持するホルダー
- RecyclerView.Adapter・・・Viewに対して操作/描画する(ViewとDataの橋渡し)
- LayoutManager・・・リストレイアウト
- Data Class・・・データ本体
実装の流れ
- Data Classの準備
- RecyclerViewレイアウトの追加
- リストアイテムのレイアウトを構築する
- Adapterの実装
- ViewHolderと紐付け
- ActivityからRecyclerViewにLayoutManagerとAdapterのセット
今回のプロジェクトの全体はGitHubに上げていますので参考にしてください。
Data Classの準備
まずは今回RecyclerViewで表示させたいデータクラスを定義しておきます。以下のようなUserクラスをdataディレクトリを作成してapp/java/com.example.recyclerview/data/内に定義しておきました。
またcompanion object(インスタンス化しないでも参照できる)を使用してデモデータを格納しておきます。
RecyclerViewレイアウトの追加
「activity_main.xml」にRecyclerViewを追加し以下のようにレイアウトを修正しておきます。RecyclerViewにはandroid:layout_widthとandroid:layout_heightを指定しないとOne or more layouts are missing the layout_width or layout_height attributesというエラーになるので注意してください。
この状態では以下のようにitem 0 〜 9までがプレビューとして表示されます。実際にアプリを起動させてみてもこれらの文字は見えなくなるようです。

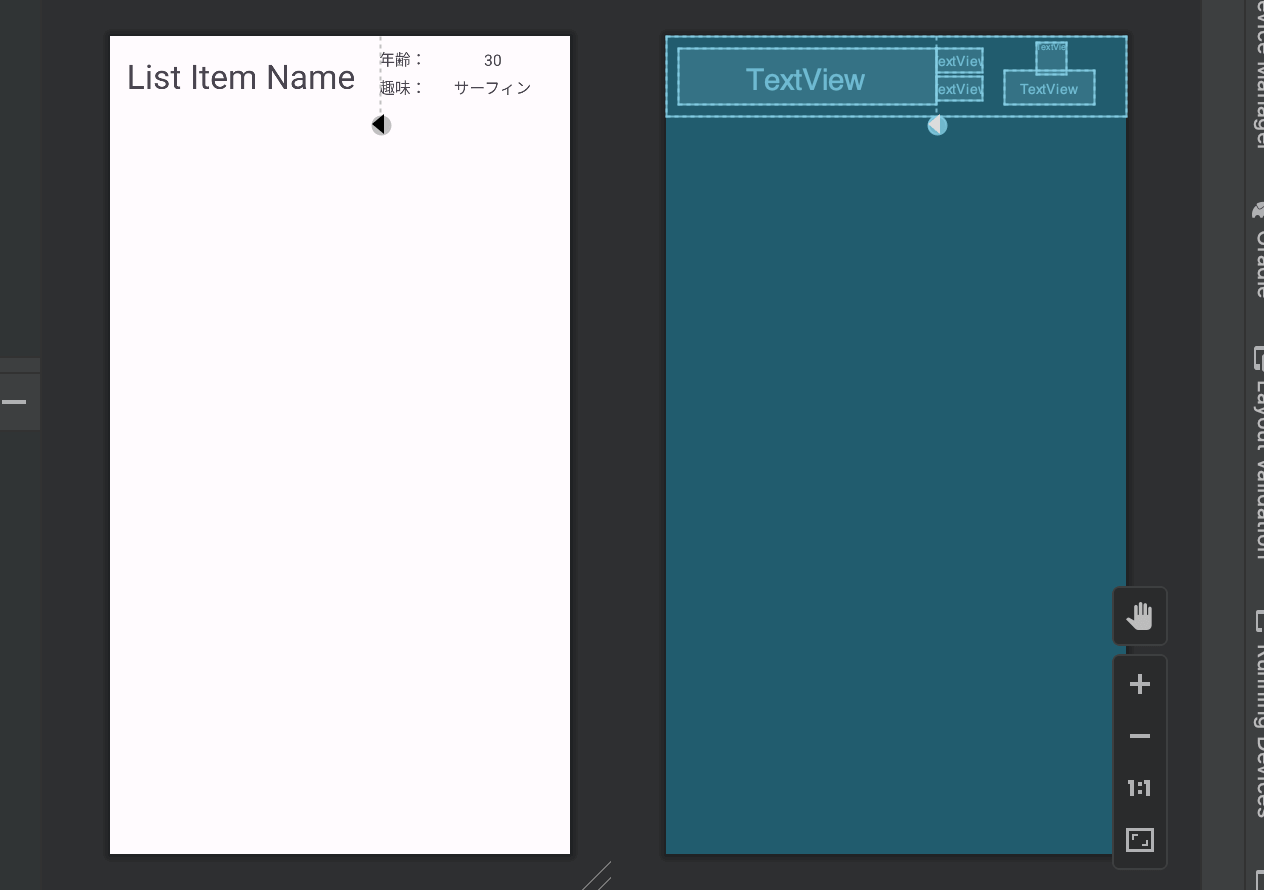
リストアイテムのレイアウトを構築する
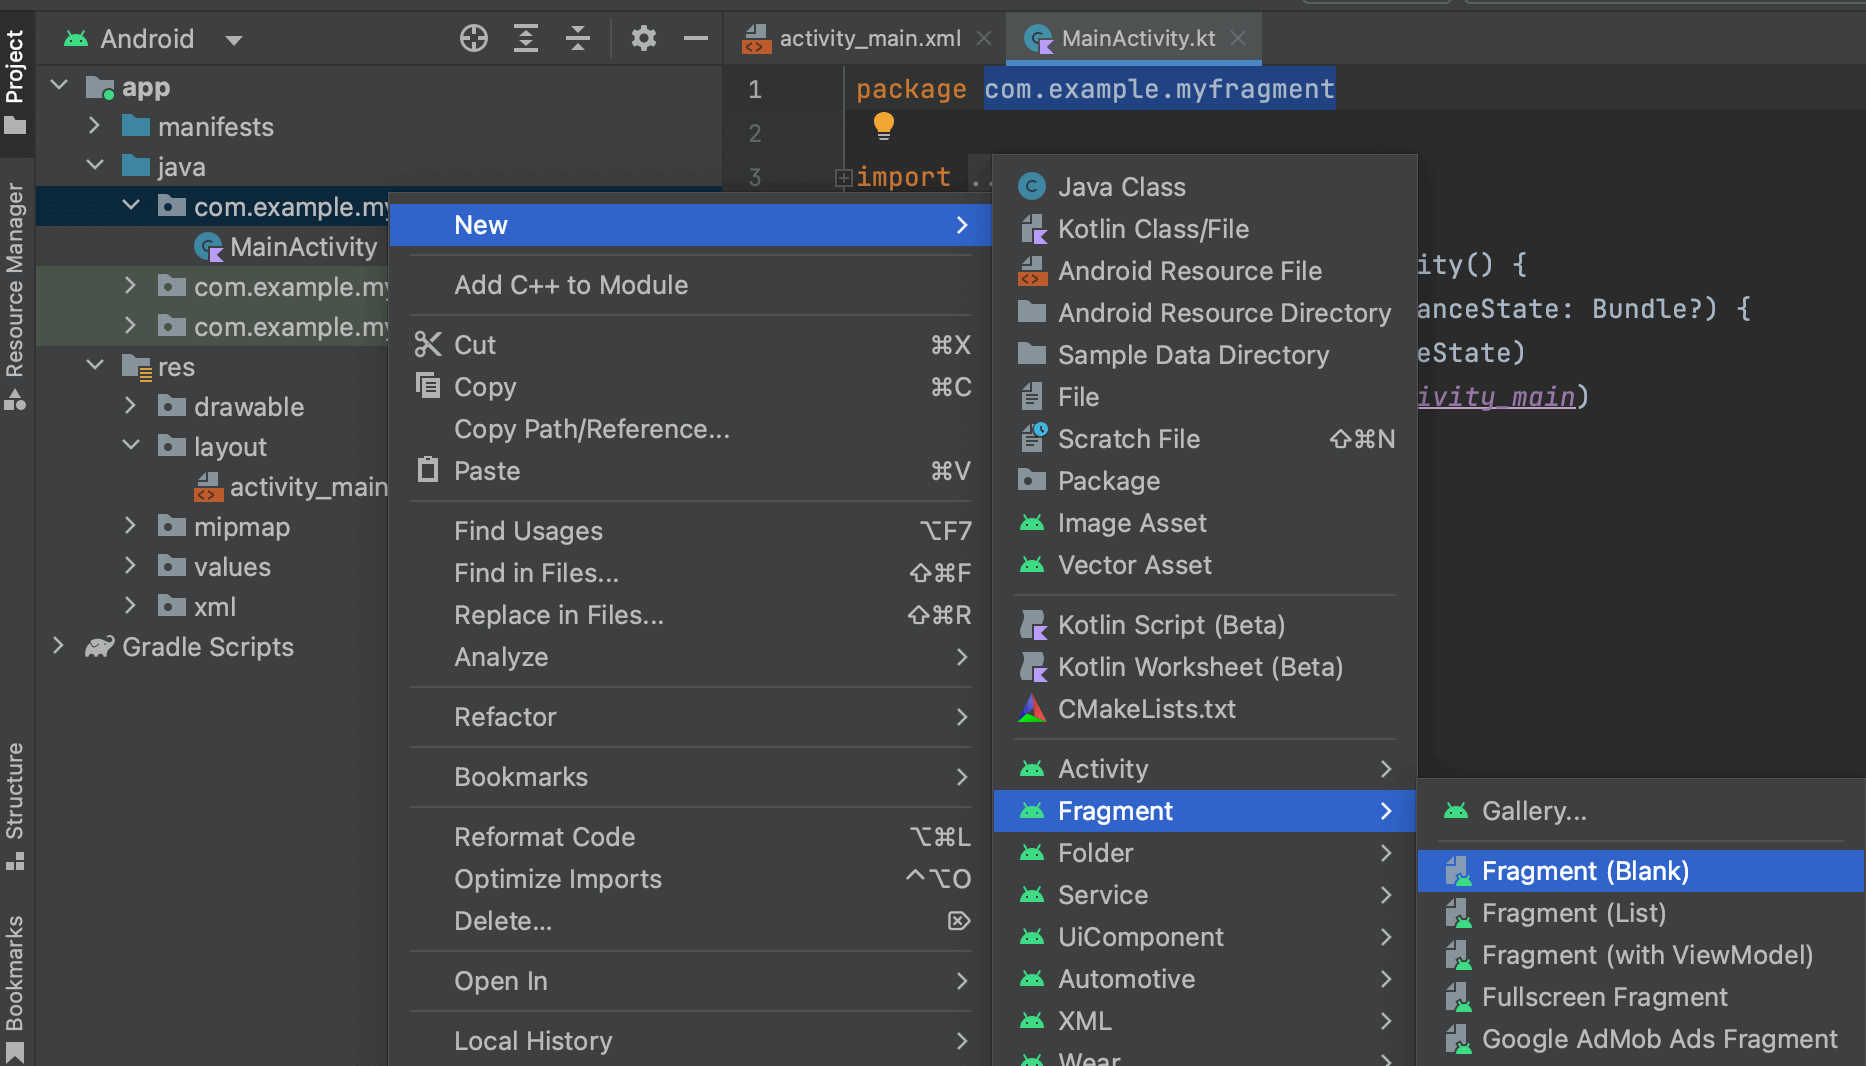
リスト表示させるにはその1行1行のレイアウトデザインも準備しておく必要があるのでFragmentを作成してXMLで中身を実装していきます。「app」>「java」>「com.example.プロジェクト名」で右クリックして「New」>「Fragment」>「Fragment(Blank)」をクリックしListItemFragmentを作成します。
ListItemFragmentクラスとfragment_list_item.xmlレイアウトが作成されるので先にレイアウトを構築しておきます。
Adapterの実装
AdapterはレンダリングされるView(ViewHolder)と表示させるデータを橋渡しするためのクラスです。そのためAdapterの中にデータを保持するためのプロパティとViewHolderクラスを定義していきます。AdapterクラスはRecyclerView.AdapterをViewHolderクラスはRecyclerView.ViewHolderを継承して定義しておきます。これで必要なメソッドを定義することができるようになります。
まずはデータを保持するためのデータリストを用意します。クラス内でのみ操作をするのでprivateで、変更できるようにMutableListで宣言しています。またMainAdapterクラスをインスタンス化する際に引数でListを受け取れるように変更しておきます。
getItemCountメソッドは実装が必須になるので定義しておきます。ここにはデータの数を格納します。
ViewHolderと紐付け
続いてViewHolderと紐付けしていきます。ここでやっていることの詳細はコメントに残しておきました。ざっくりやっていることは以下のとおりです。
・ViewHolderを配置するレイアウト(fragment_item_list.xml)の指定
・レイアウト(fragment_item_list.xml)の要素をViewHolderに紐付け
・ViewHolderにバインドするデータのセット
ActivityからRecyclerViewにLayoutManagerとAdapterのセット
最後にActivityからRecyclerViewにLayoutManagerとAdapterのセットします。LinearLayoutManagerは既存でクラスが用意されているので特に準備する必要はありませんでした。
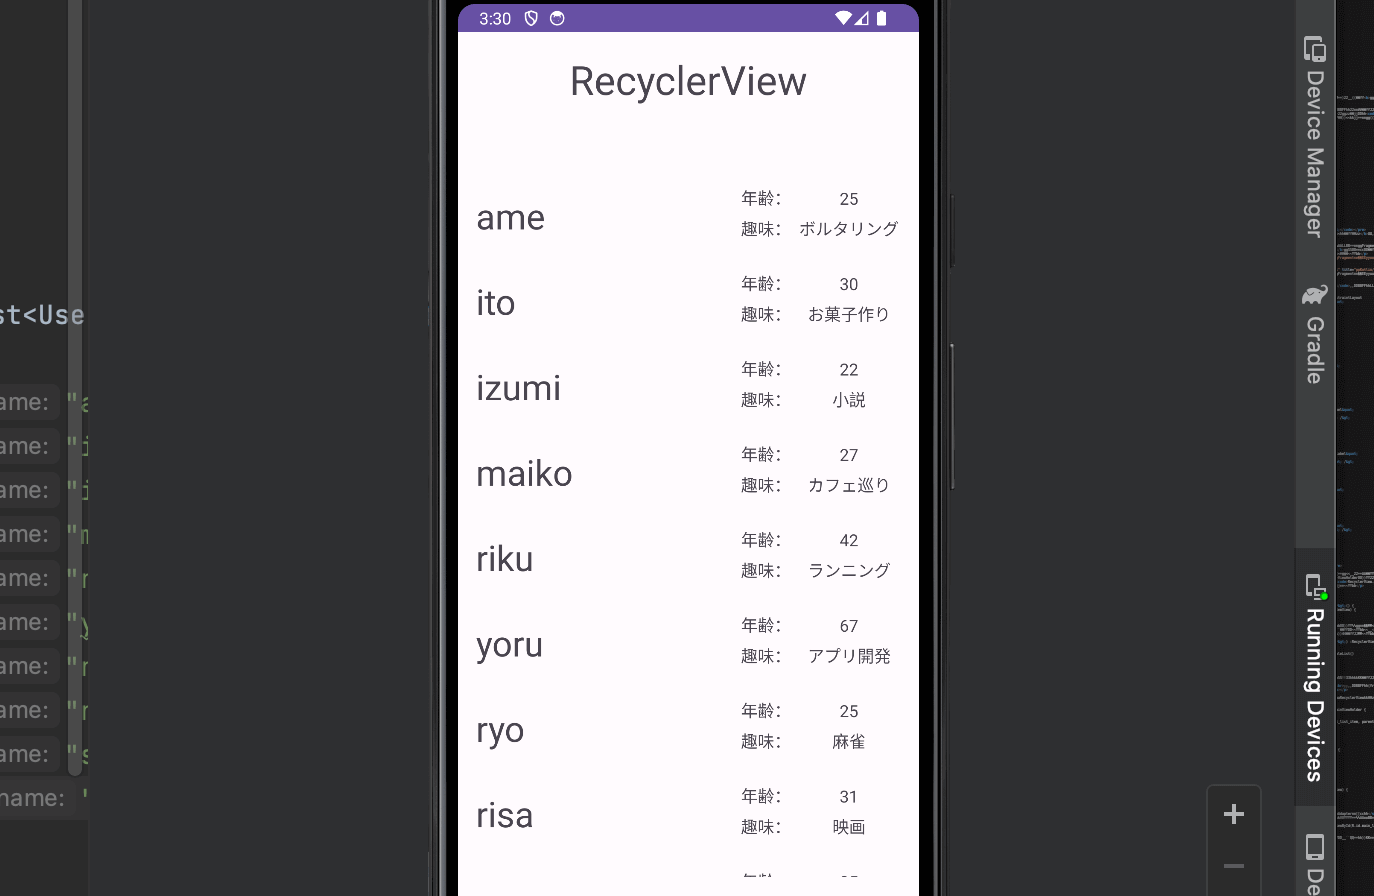
これでRecyclerViewを使用してリストビューを実装することができました。
おすすめ記事
【Kotlin/Android Studio】ItemTouchHelperの使い方!RecyclerViewでスワイプ処理を実装する方法
【Kotlin/Android Studio】SimpleOnItemTouchListenerの使い方!RecyclerViewでタップイベントを実装する方法
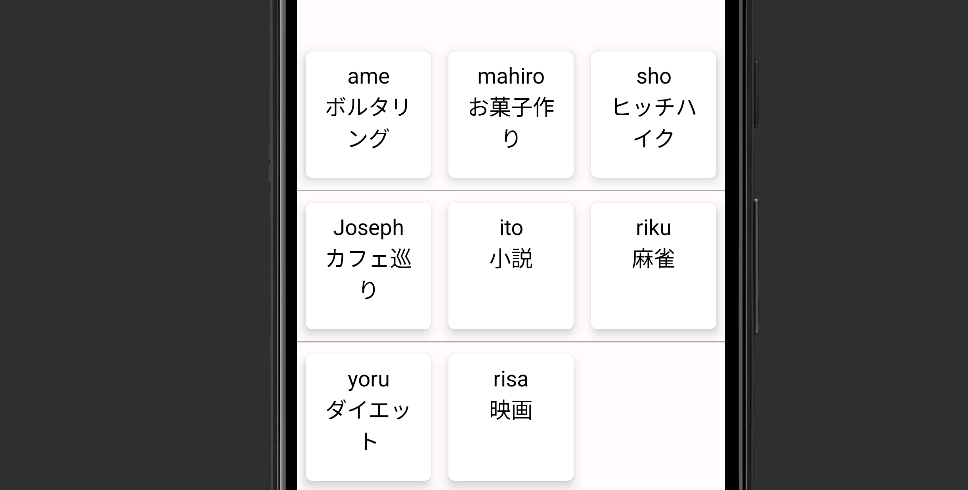
グリッドレイアウトを実装する
RecyclerViewでは以下のようなグリッドレイアウトも簡単に実装することが可能です。詳細は以下の記事を参考にしてください。
まだまだ勉強中ですので間違っている点や至らぬ点がありましたら教えていただけると助かります。
ご覧いただきありがとうございました。