【Android Studio】Buttonにアイコンを設定する方法!

この記事からわかること
- Android StudioでButtonを実装する方法
- アイコンを設定するには?
- ImageButtonの使い方とは?
\ アプリをリリースしました /


Android Studioでボタンを実装する際にデザインやテーマ、文字列ではなくアイコンを設定する方法をまとめていきます。基本的なButtonの使い方に関しては以下の記事を参考にしてください。
環境
- Android Studio:Flamingo
- Kotlin:1.8.20
Buttonのデフォルトのデザイン
Android StudioではButtonを設置するとデフォルトのデザインが適応されるようになっています。Android Studio Flamingoでは以下のような紫色で角が丸くなったボタンが実装されます。
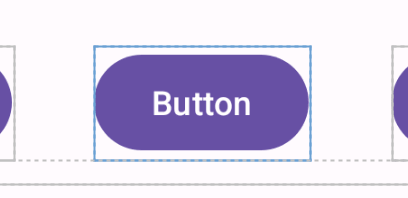
この際のButtonのXMLは以下のようになります。
文字列ではなくアイコンのボタンを実装する
Buttonの文字列部分をアイコンに変更するにはImageButtonを使用します。android:src属性に設定したいアイコン画像を、android:contentDescriptionには表示はされませんがボタンの説明を記述します。
これで表示させると以下のようにアイコン付きのボタンが表示されます。

当たり前ですがMainActivityへ記載する際はButtonではなくImageButtonになるので注意してください。
背景のグレーをなくす
今のままでは背景色がグレーのままなので透明にしていきたいと思います。透明にするにButtonのスタイルを変更するstyle="?android:attr/borderlessButtonStyle"を追加します

上記のように背景色が何もなくなってスッキリとしてボタンになりました。
まだまだ勉強中ですので間違っている点や至らぬ点がありましたら教えていただけると助かります。
ご覧いただきありがとうございました。