【Swift UI】matchedGeometryEffectで複数Viewにアニメーションを実装する

この記事からわかること
- Swift UIのmatchedGeometryEffectモディファイアの使い方
- アニメーションの実装方法
- Namespaceとは?
index
[open]
\ アプリをリリースしました /
環境
- Xcode:16.0
- iOS:18.0
- Swift:5.9
- macOS:Sonoma 14.6.1
matchedGeometryEffect
公式リファレンス:matchedGeometryEffect
nonisolated
func matchedGeometryEffect<ID>(
id: ID,
in namespace: Namespace.ID,
properties: MatchedGeometryProperties = .frame,
anchor: UnitPoint = .center,
isSource: Bool = true
) -> some View where ID : Hashable
Swift UIのmatchedGeometryEffect
は2つ以上のView間の変化をシームレスに変化させることができるモディファイアです。Swift UIではwithAnimation
を使用することで1つのViewに対しての変化を簡単にシームレスな変化(アニメーション)にすることができました。
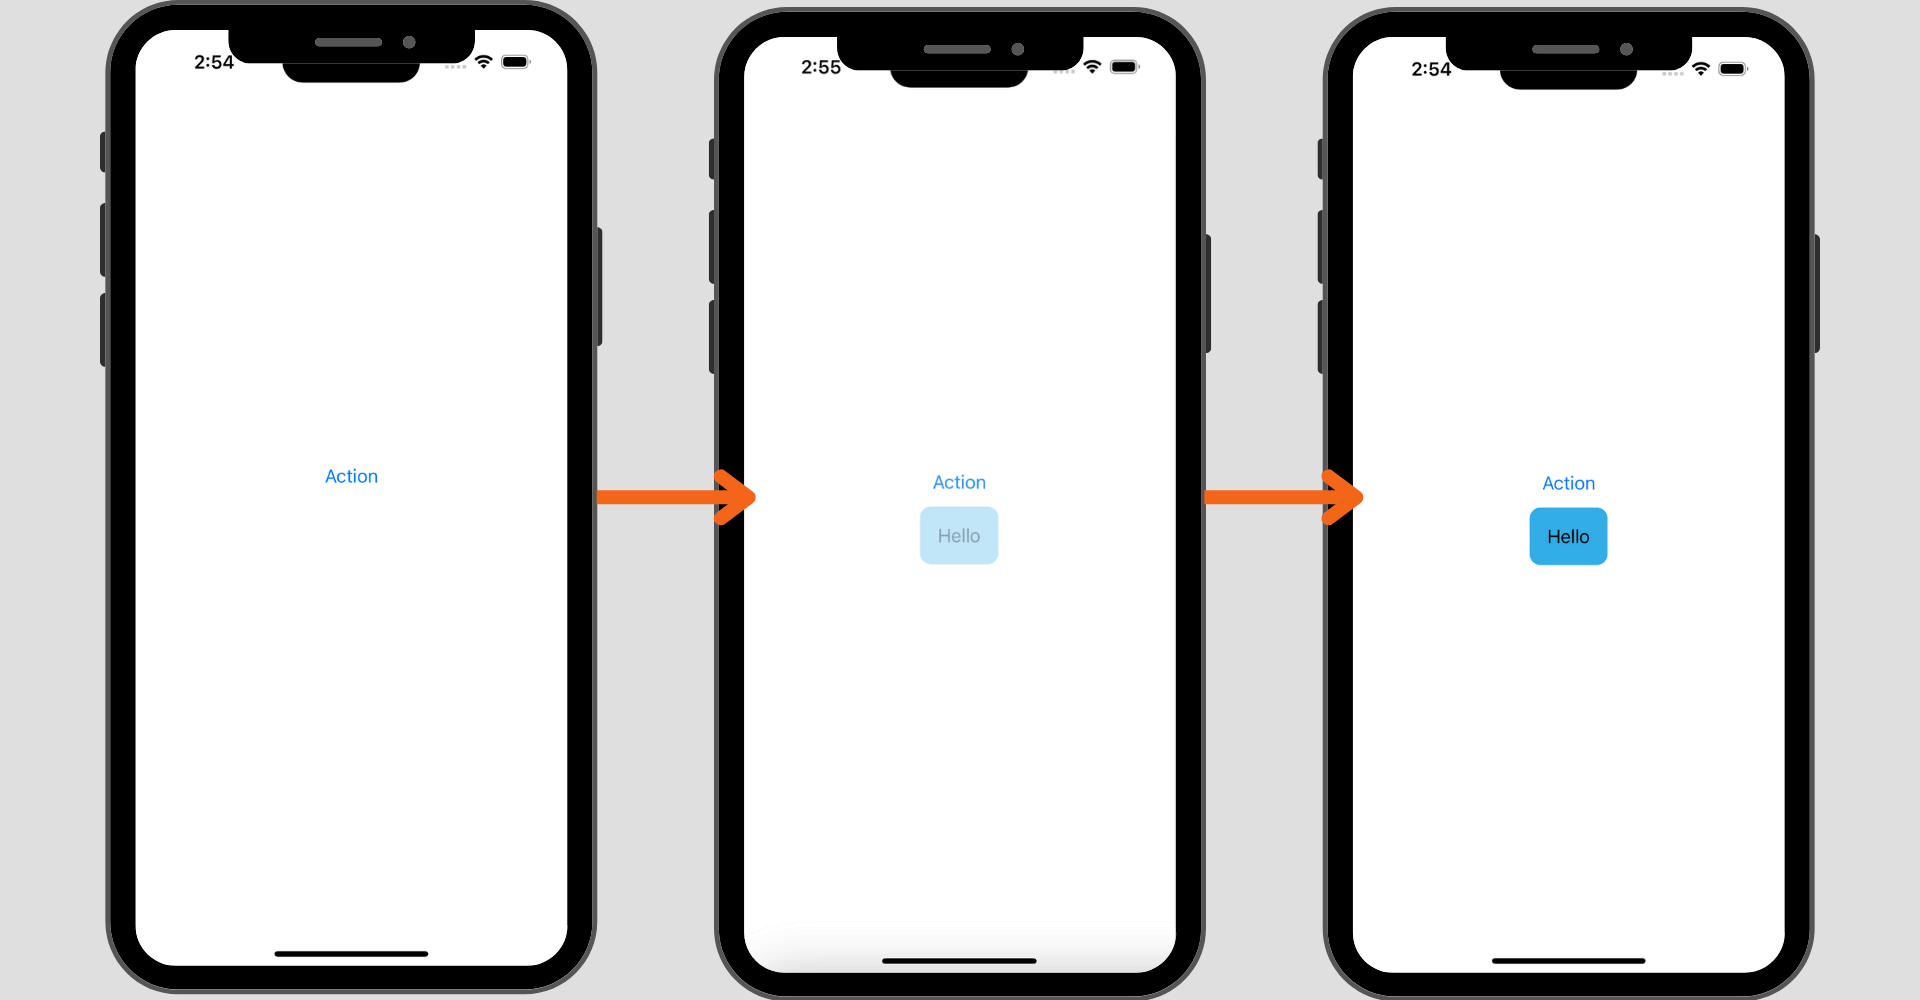
matchedGeometryEffect
では2つ以上のViewに対して同じ名前空間(Namespace)を付与することで同一のオブジェクトと認識させその変化をシームレスにすることが可能になっています。例えば以下のような青とオレンジの四角形Viewが2つありこれの表示/非表示を切り替える動作をシームレスにすることができます。

struct HorizontalRectangle: View {
@Namespace private var animationNamespace
@State private var isExpanded = false
var body: some View {
HStack {
if isExpanded {
// 青色四角形View
RoundedRectangle(cornerRadius: 25)
.fill(Color.blue)
.frame(width: 100, height: 100)
.matchedGeometryEffect(id: "rectangle", in: animationNamespace)
.onTapGesture {
withAnimation(.easeOut(duration: 1)) {
isExpanded.toggle()
}
}
}
Spacer()
if !isExpanded {
// オレンジ四角形View
RoundedRectangle(cornerRadius: 25)
.fill(Color.orange)
.frame(width: 100, height: 100)
.matchedGeometryEffect(id: "rectangle", in: animationNamespace)
.onTapGesture {
withAnimation(.easeOut(duration: 1)) {
isExpanded.toggle()
}
}
}
}.padding(.horizontal)
}
}
実装のポイント
matchedGeometryEffect
を使用するポイントは以下の通りです。
- Namespaceを定義して同じNamespaceを対象のView全てに反映させる
- withAnimationで変化にアニメーションを許容する
matchedGeometryEffect
の引数id
には同じオブジェクトと見なすため識別子を引数in
にはNamespaceを指定して名前空間を作成します。同じ名前空間にある同じ識別子を持ったViewが同一のオブジェクトとして認識され、その変化がシームレスに動作するようになる感じです。
MatchedGeometryProperties
引数properties
にはMatchedGeometryProperties
型でアニメーションを許容する箇所を指定することができます。
公式リファレンス:MatchedGeometryProperties
- .frame:フレームサイズのアニメーションを許容
- .position:位置のアニメーションのみを許容
- .size:サイズのアニメーションのみを許容
カスタムでセグメントピッカーを実装する
matchedGeometryEffect
を使用することでPicker
構造体を使用せずにカスタムなセグメントピッカーを作成することも可能です。

enum TabItem: String, CaseIterable {
case one
case two
case three
}
struct CustomTabPickerView: View {
@Namespace private var tabAnimation
@Binding var selectedItem: TabItem
var body: some View {
HStack {
ForEach(TabItem.allCases, id: \.self) { tab in
Button {
withAnimation {
selectedItem = tab
}
} label: {
ZStack {
if selectedItem == tab {
RoundedRectangle(cornerRadius: 30)
.frame(width: 75, height: 40)
.foregroundColor(.orange)
.matchedGeometryEffect(id: "block", in: tabAnimation)
} else {
RoundedRectangle(cornerRadius: 30)
.frame(width: 75, height: 40)
.foregroundColor(.clear)
}
Text(tab.rawValue)
.font(.system(size: 14))
.foregroundColor(selectedItem == tab ? .black : .orange)
}
}.frame(width: 75, height: 40)
}
}.background(.white)
.clipShape(RoundedRectangle(cornerRadius: 30))
.shadow(color: .black.opacity(0.2), radius: 5, x: 3, y: 3)
}
}
ご覧いただきありがとうございました。