【Swift UI】Sign in with Appleの実装方法!SignInWithAppleButton

この記事からわかること
- Sign in with Appleとは?
- Apple IDを使ったログイン認証機能の実装方法
- AuthenticationServicesフレームワークの使い方
- インターフェースをSwift UIで構築している場合の実装方法
- SignInWithAppleButton構造体の使い方
index
[open]
\ アプリをリリースしました /
Swift UIフレームワークを使用している場合での「Sign in with Apple」の実装方法をまとめていきます。Sign in with AppleについてやStoryboardでの実装に関しては以下の記事を参考にしてください。
Storyboard:【Swift】Sign in with Appleの実装方法!Apple IDを使ったログイン機能
Swift UIでSign in with Appleを実装する方法
Swift UIを使用している場合にSign in with Appleを実装する流れをまずは確認してみます。
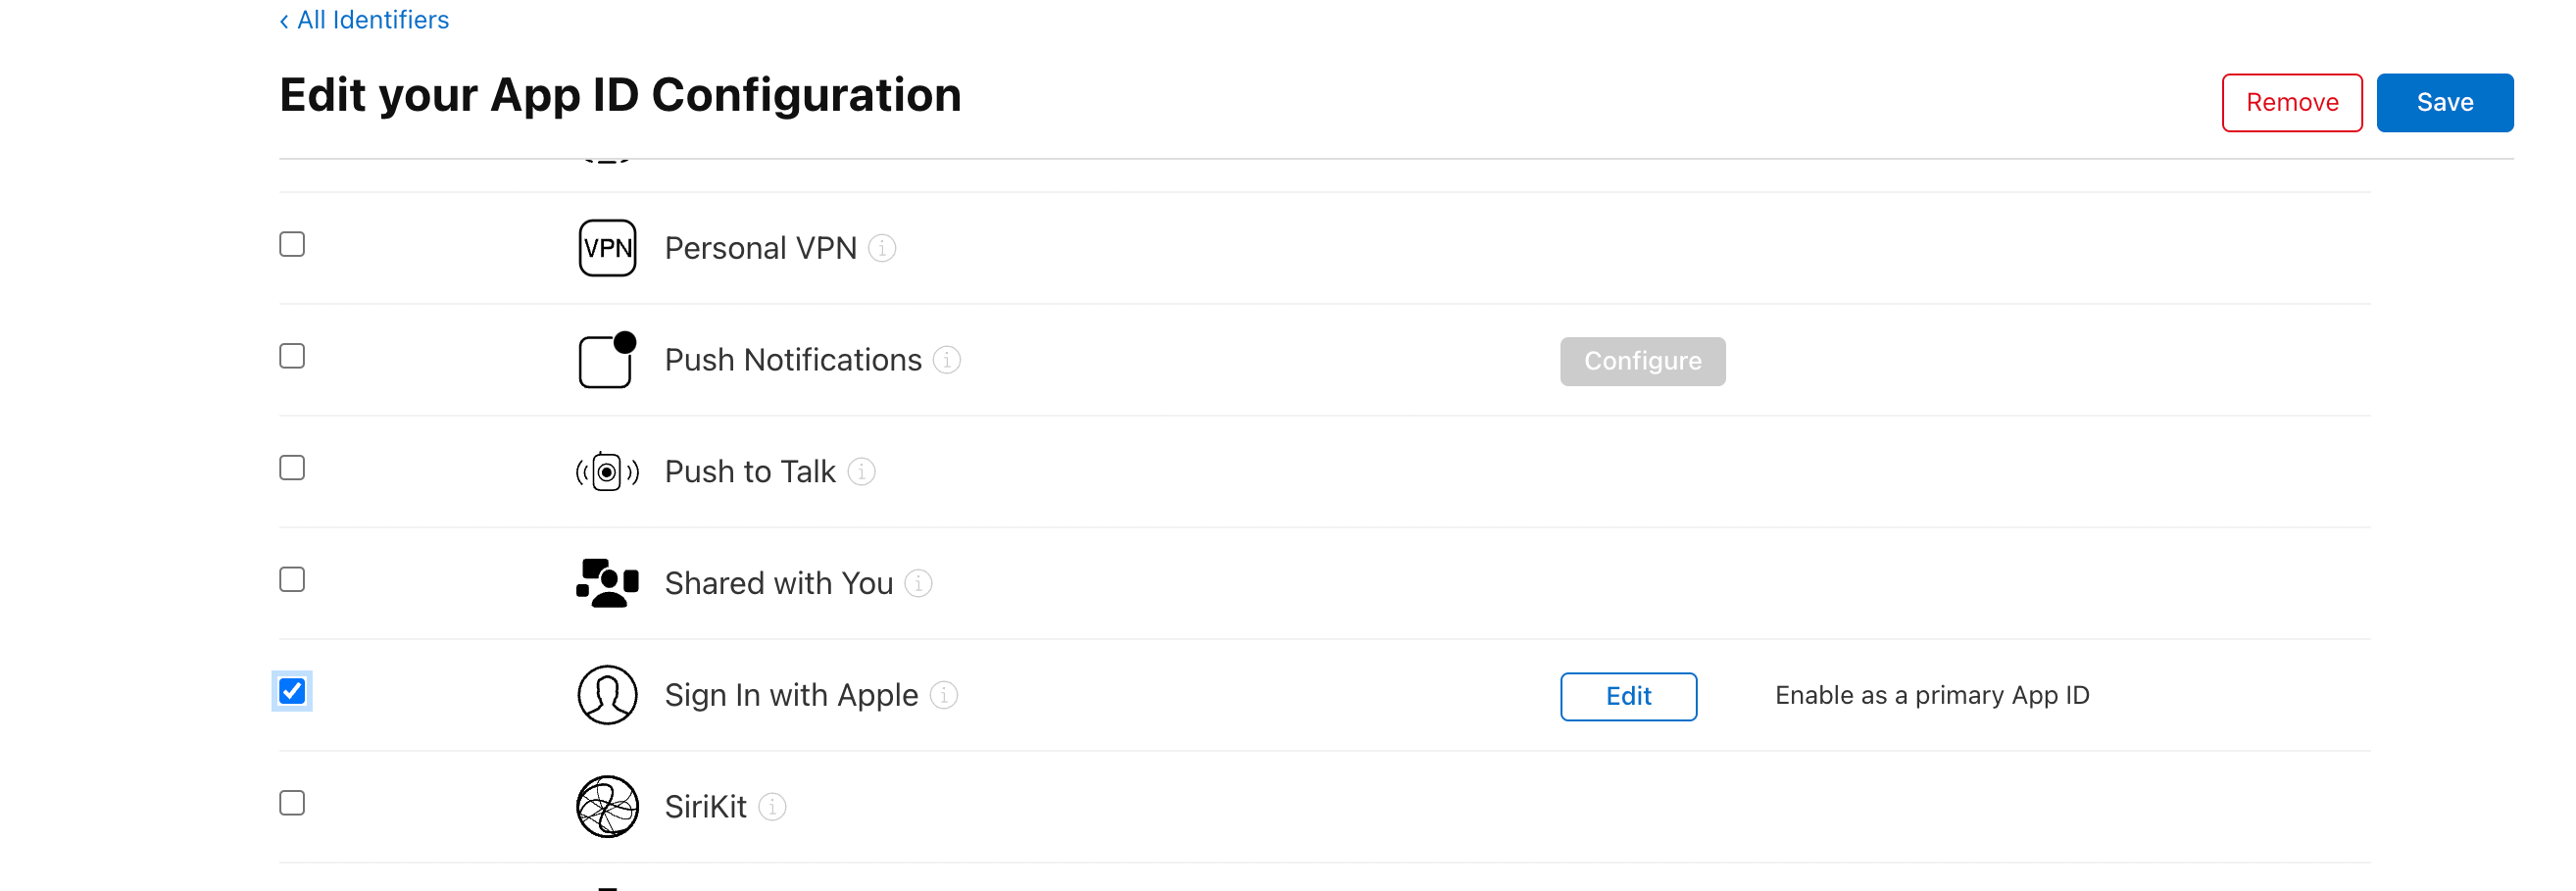
- Developer siteでSign in with Appleを有効にする
- Xcode側でSign in with Appleを追加
- ボタン&処理を定義
Developer siteでSign in with Appleを有効にする
まずは「Apple Developer site」にアクセスして使用したいApp IDでSign in with Appleを有効にして作成しておきます。既に生成済みであれば「Certificates, IDs & Profiles」から対象のApp IDを編集していきます。
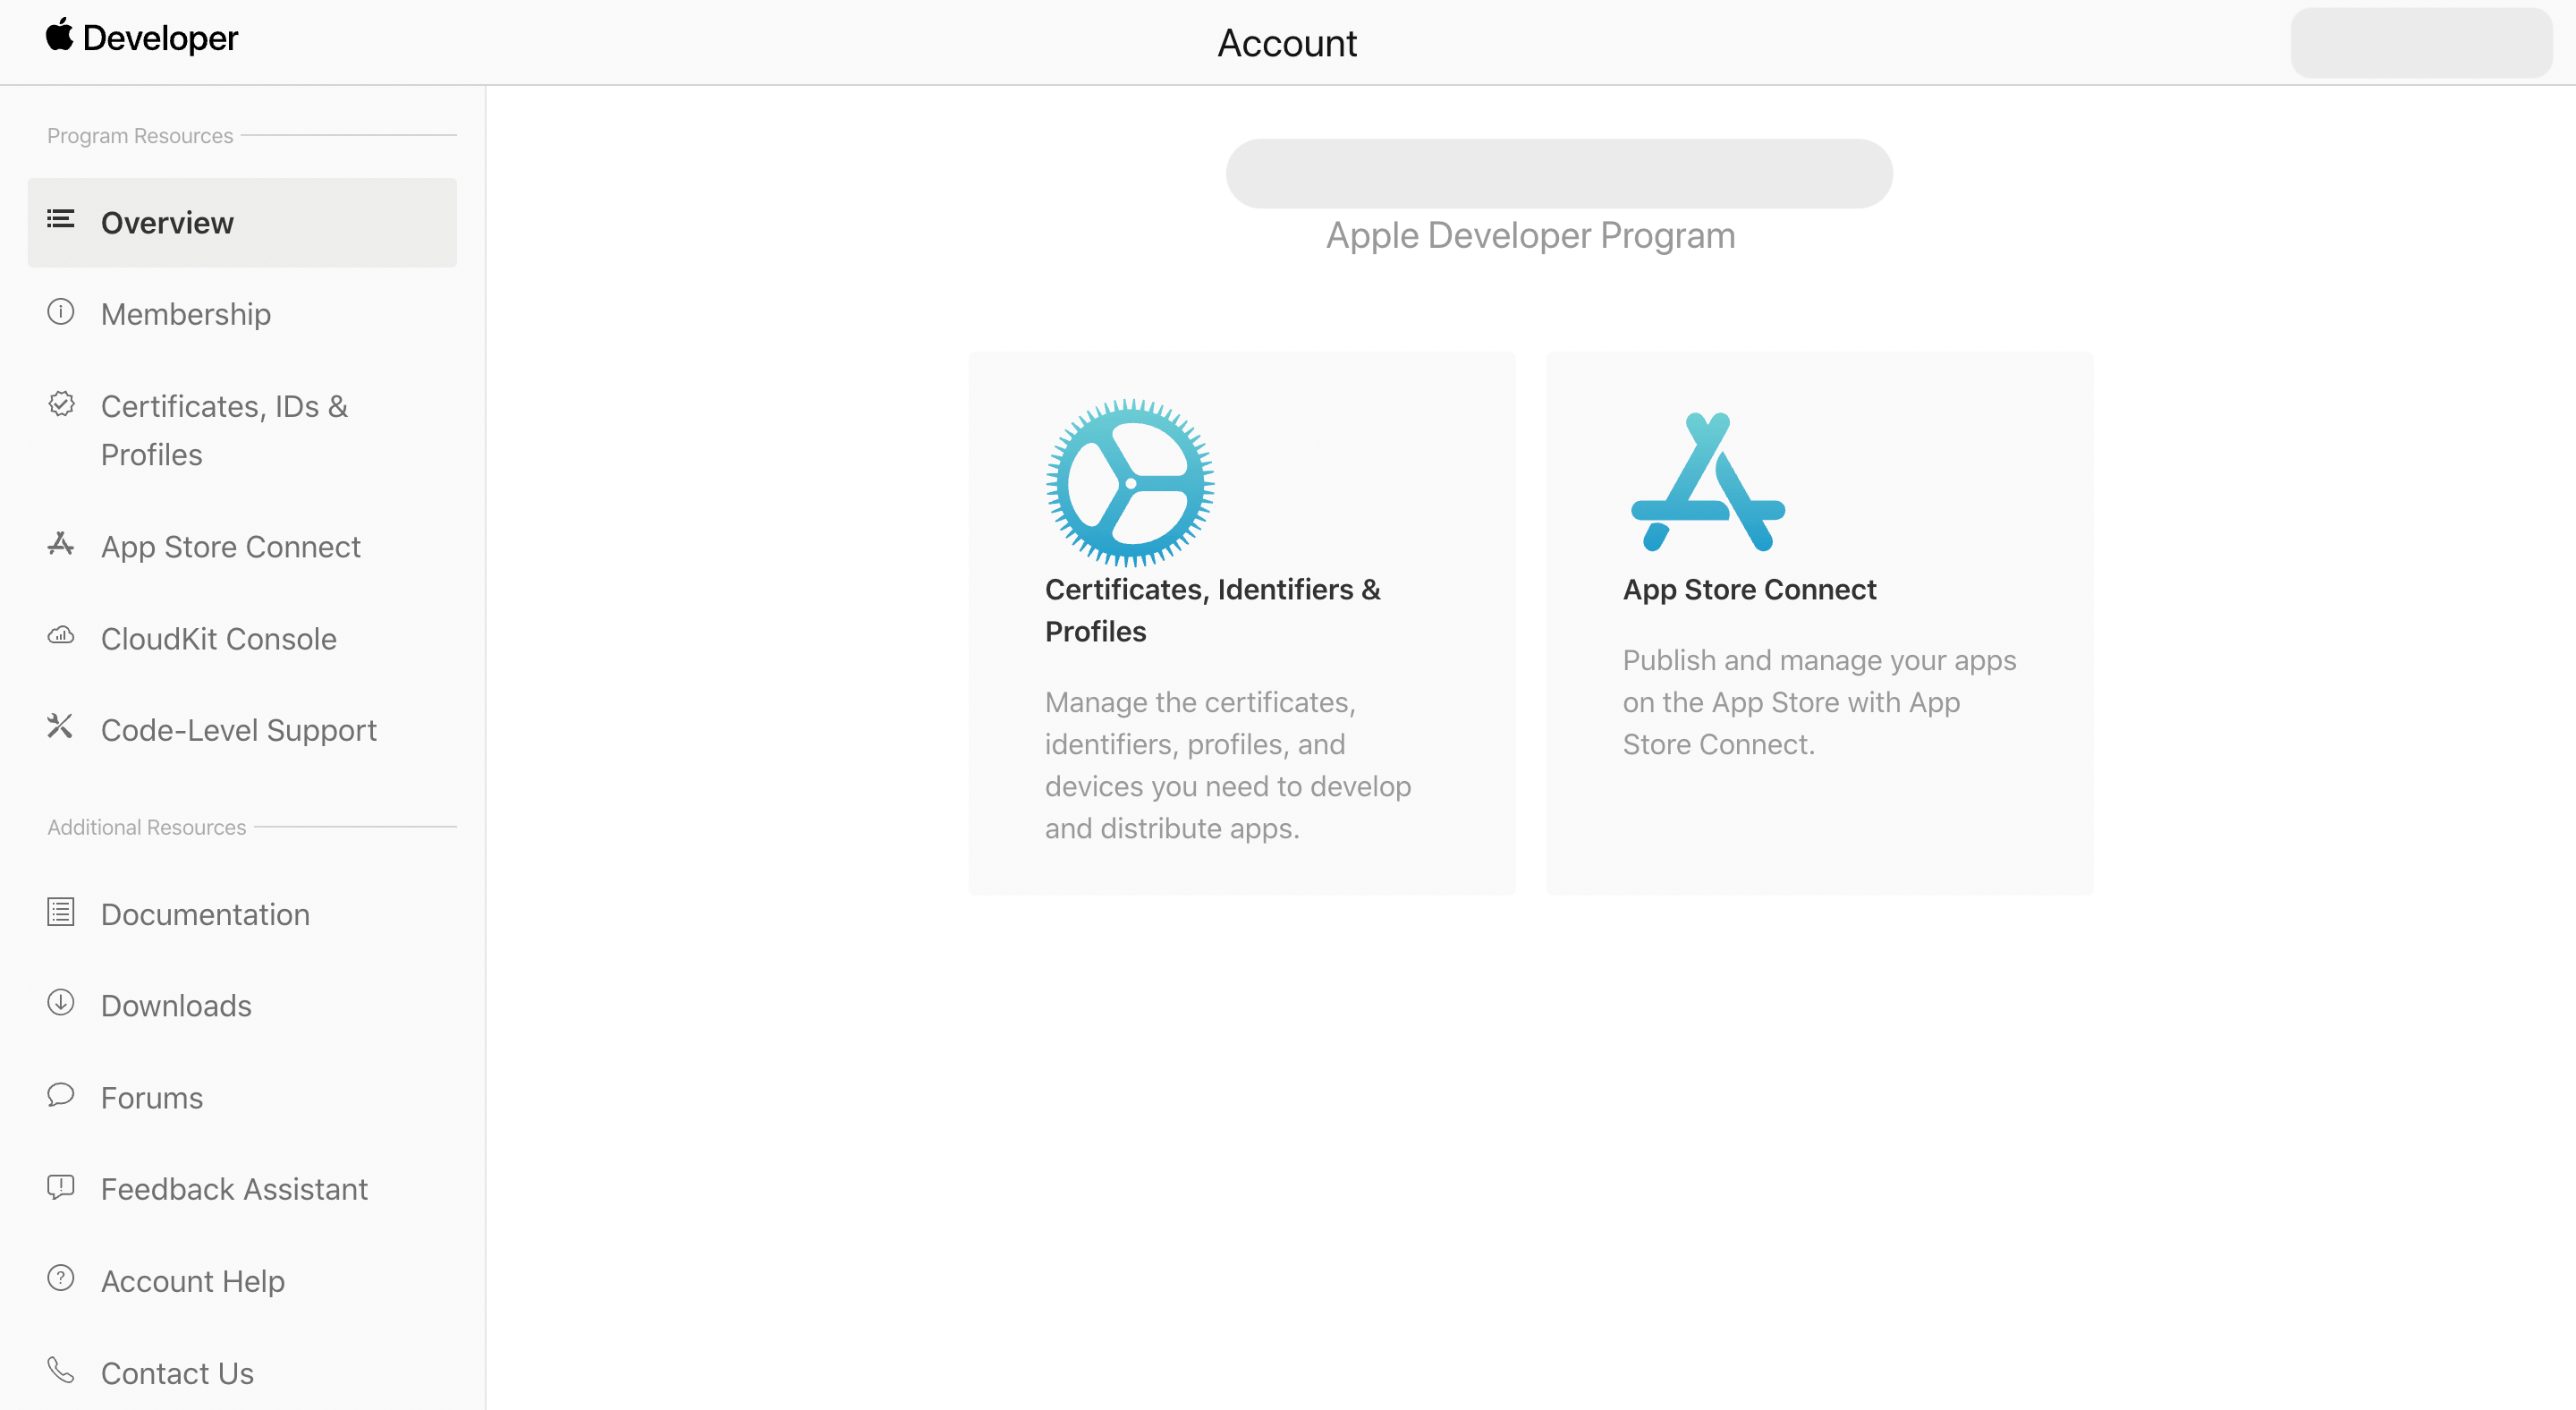
有効にするにはチェックを入れるだけです。
Xcode側でSign in with Appleを追加
続いてXcode側で「Signing & Capability」タブの 「 + 」ボタンをクリックして「Sign in with Apple」を追加します。

これでXcode側の作業も完了です。
AuthenticationServicesフレームワーク
Sign in with Appleの実装はAuthenticationServicesフレームワークとして提供されています。Xcodeの中にはすでに組み込まれているのでimport文を記述することで使用することができます。
公式リファレンス:Authentication Services
SignInWithAppleButtonでボタンと処理を構築
公式リファレンス:SignInWithAppleButton
Swift UIではSignInWithAppleButton構造体を使用するだけでUIから認証フローの呼び出しまでを構築することができます。
1つ目の引数にボタンのデザインタイプを、2つ目の引数から認証リクエストの構築、3つ目の引数から認証結果に参照することができます。
ボタンのデザインタイプは以下の列挙型の値を指定します。
リクエスト情報の定義
承認リクエストはASAuthorizationAppleIDRequest型で定義されます。ここは以下のようにしておきます。
認証結果の取得
認証結果はResult型で取得できます。Result型は成功していればsuccess、失敗ならfailureを保持するのでその値によって処理を分岐させます。成功していればログイン処理後に実装したい処理(サーバーにデータを保存など)を行います。
これでApple IDでサインインすることができるようになりました。Xcodeのバージョンが古いから(?)なのかシミュレーターではサインインできずにずっとぐるぐるしていたので実機へビルドするとテストすることができるようになります。
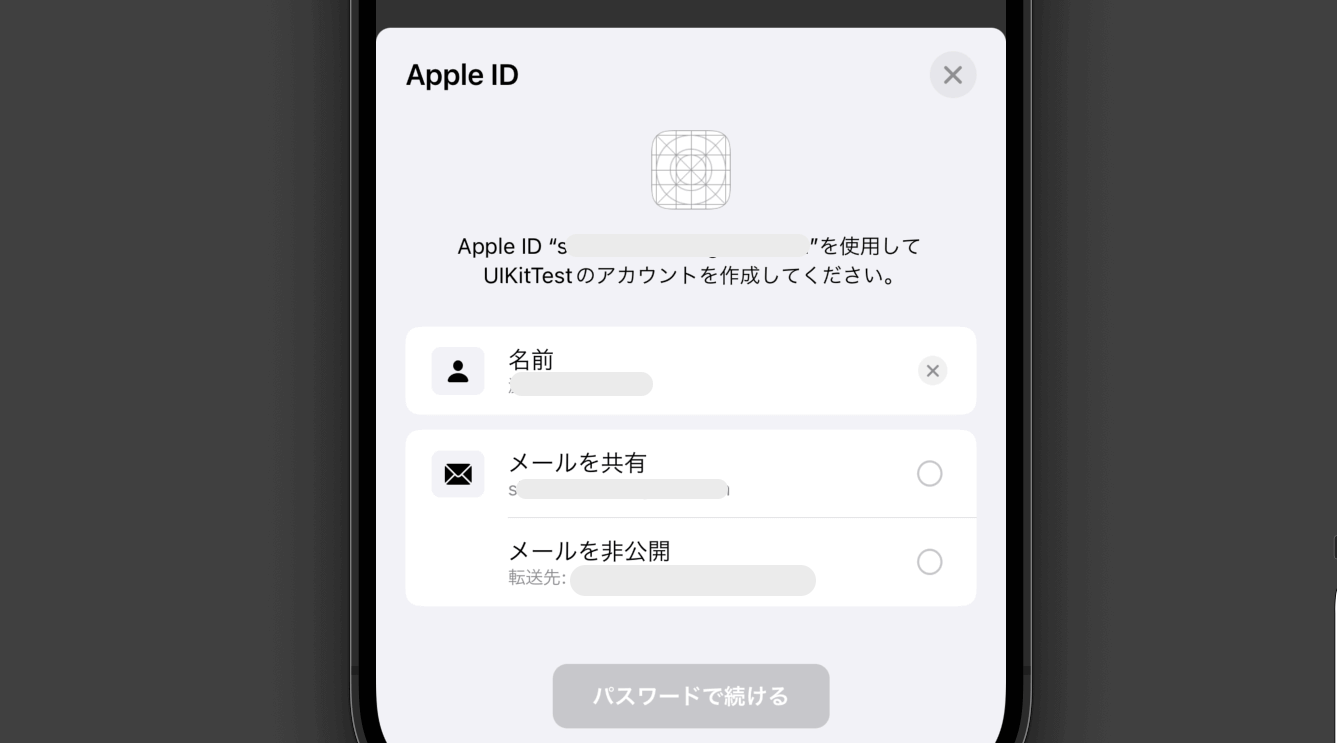
また最新のXcodeのバージョンに更新した後ならシミュレーターでも正常に動作を確認することができました。
おすすめ記事:エラー:Sign in with Appleで「登録が完了しませんでした」の解決方法!
ボタンデザインの変更
ボタンのデザインはsignInWithAppleButtonStyleモディファイアを使用することで変更することができます。指定できるのはASAuthorizationAppleIDButton.Styleに用意されている値です。ダークモードに対応できるように設定値によって分岐できるようにしておくと使い勝手が良くなります。
まだまだ勉強中ですので間違っている点や至らぬ点がありましたら教えていただけると助かります。
ご覧いただきありがとうございました。


