【SwiftUI】Shapeプロトコルの使い方!カスタム図形の作り方

この記事からわかること
- SwiftUIのShapeのプロトコルとは?
- カスタム図形の作り方
- Swift UIの図形描画の仕組み
- path(in:)メソッドとは?
\ アプリをリリースしました /


環境
- Xcode:16.0
- iOS:18.0
- Swift:5.9
- macOS:Sonoma 14.6.1
Swift UIの図形描画の仕組み
Swift UIでは画面に図形を描画する方法がいくつか存在するように感じます。しかし実際に図形を描画している仕組みとして変わらないのはPathオブジェクト(構造体)が図形を描画するための情報を保持していることです。ここでの情報とは図形を表現するための座標などです。
Swift UIデフォルトで用意されている図形描画のためのRectangle構造体やCircle構造体など図形を生成する型は全てShapeプロトコルに準拠しています。
Shapeプロトコルとは?
Shapeプロトコルはビューを描画する際に必要になる形状情報を定義するためのプロトコルです。またその形状に対してサイズや色の変更、トリミングといった操作をするためのAPIも提供しています。
Shapeプロトコルの定義を見てみるとAnimatableとViewに準拠していることがわかります。
Animatableプロトコルに準拠していることでアニメーションが適用されるようになっています。具体的には任意のプロパティの値が変化した際に実際のビューもアニメーションで変化します。
Viewプロトコルに準拠していることでSwift UIにおいてビューを構成するために必要な機能を保持させています。
path(in:)メソッド
定義されているpath(in:)メソッドはCGRect型で座標を受け取り、図形を描画するために必要となるPathオブジェクトを返すメソッドです。
Rectangle構造体やCircle構造体なども同様に内部的にpath(in:)メソッドから該当の形を定義したPathオブジェクトを返しているようです。以下のような感じなのかな?(※公式ではないので違ったらごめんなさい)
Rectangle構造体
Circle構造体
その他のメソッド
オリジナルのカスタム図形を作成する
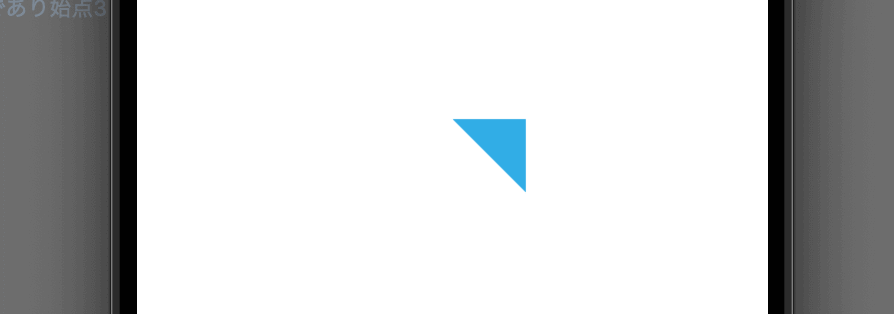
Shapeプロトコルを使用してカスタムな図形を作成することも可能になります。では「三角形」を作成してみます。まずはShapeプロトコルに準拠させたTriangle構造体を定義します。path(in:)メソッドの中でPathインスタンスを作成し、三角形を構築します。
あとはSwift UIの中で呼び出すだけで三角形が実装できます。
この要領でpathオブジェクトを構築すればさまざまな形を構築することができます。
扇型
チェックマーク型

trim(from:,to:)を使用することでチェックマークを描くような実装も可能です。

まだまだ勉強中ですので間違っている点や至らぬ点がありましたら教えていただけると助かります。
ご覧いただきありがとうございました。